How To Deploy a Connector on CloudConnexa
Are you feeling a little lost when it comes to deploying connectors on CloudConnexa? Don't worry; we've got you covered. First off: what exactly is a connector? A Connector is software that is installed on an Application Server or on a computer/virtual machine running on your private network. It creates an always-on OpenVPN tunnel to the CloudConnexa service so that the applications on the network or application servers can always be accessed to those on the network. Connector software are essential to getting started in CloudConnexa.
In this guide, we'll walk you through the process step by step, making it easy to understand even if you're new to this technical topic.
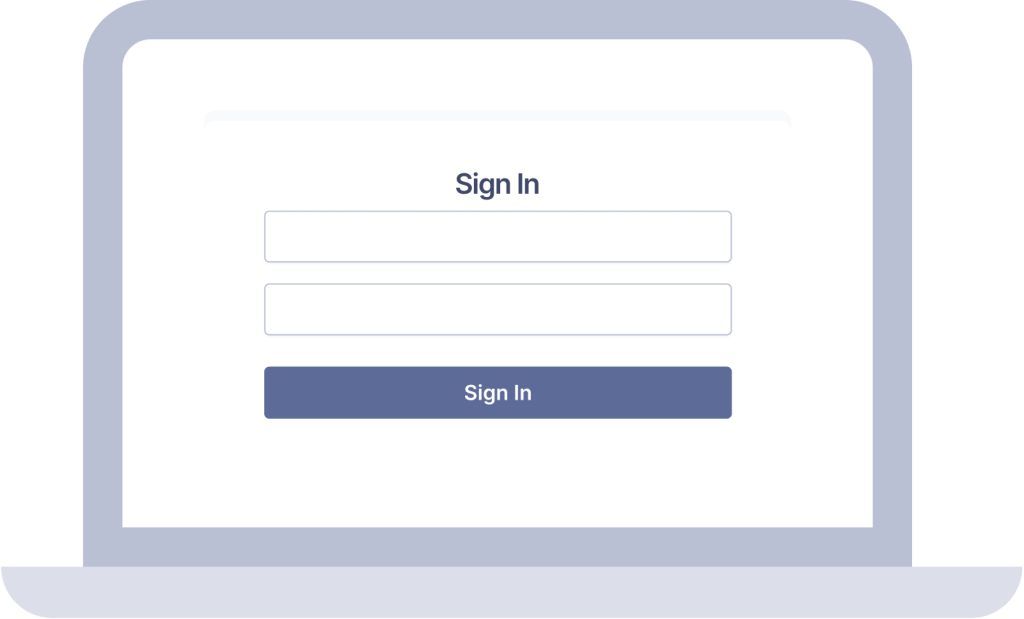
Step 1: Sign In to CloudConnexa Administration Portal
The first thing you'll need to do is sign in to the CloudConnexa Administration portal. Simply head over to https://cloud.openvpn.com and log in with your credentials.
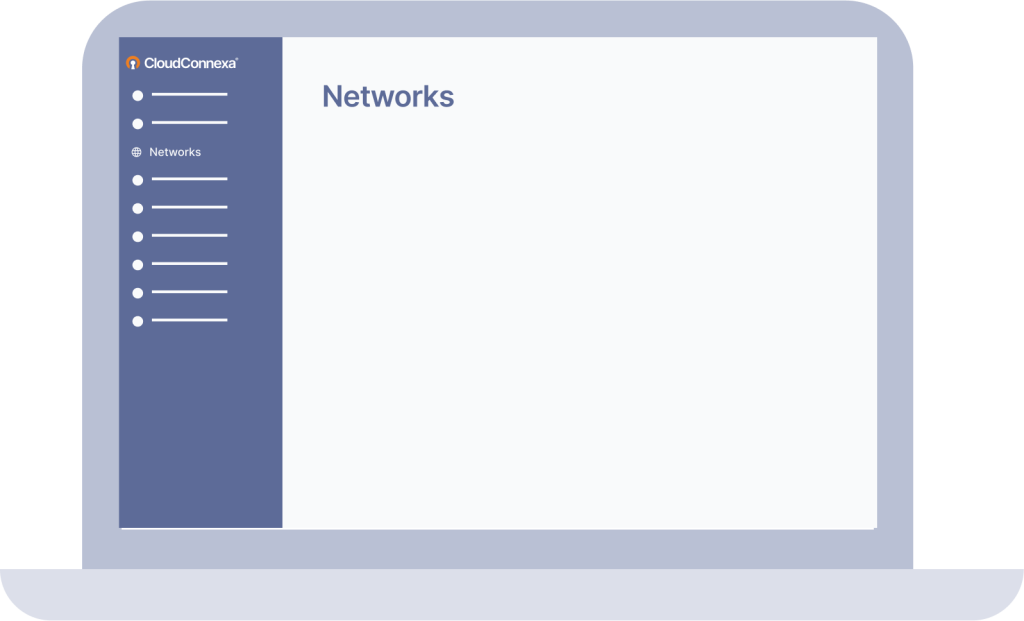
Step 2: Navigate to ‘Networks’
Once you're logged in, navigate to the "Networks" on the left sidebar and click on it. Networks references the secure virtual environments you’re creating on CloudConnexa.
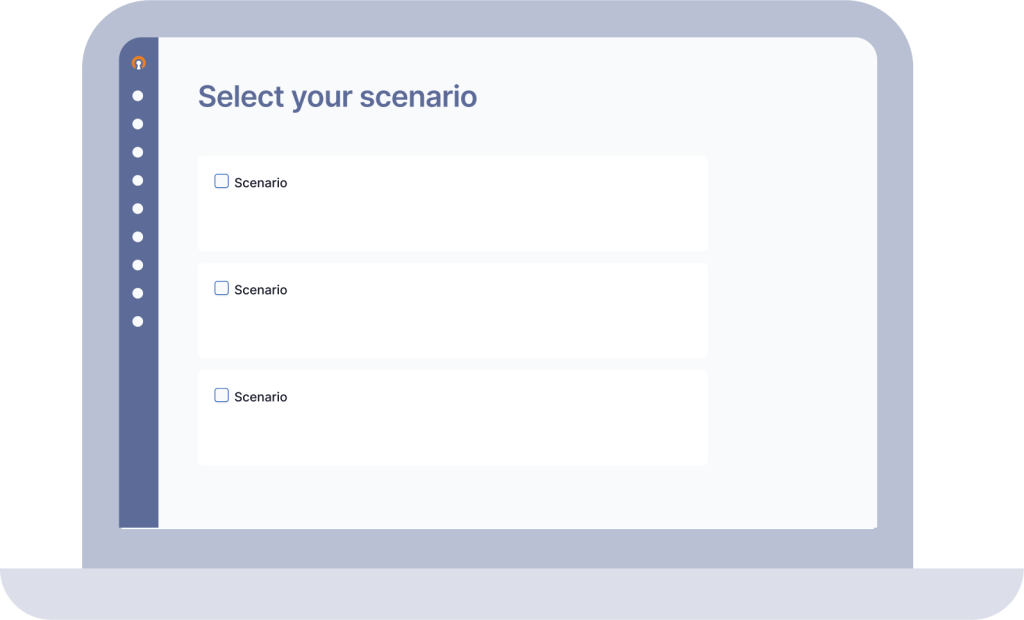
Step 3: Select Your Scenario
Now, it's time to choose the scenario that best fits your use case. This will help us tailor the deployment to your specific needs. Scenario(s) are predefined configurations that align with common deployment scenarios. For example, for many new users, a common scenario is ‘Remote Access.’
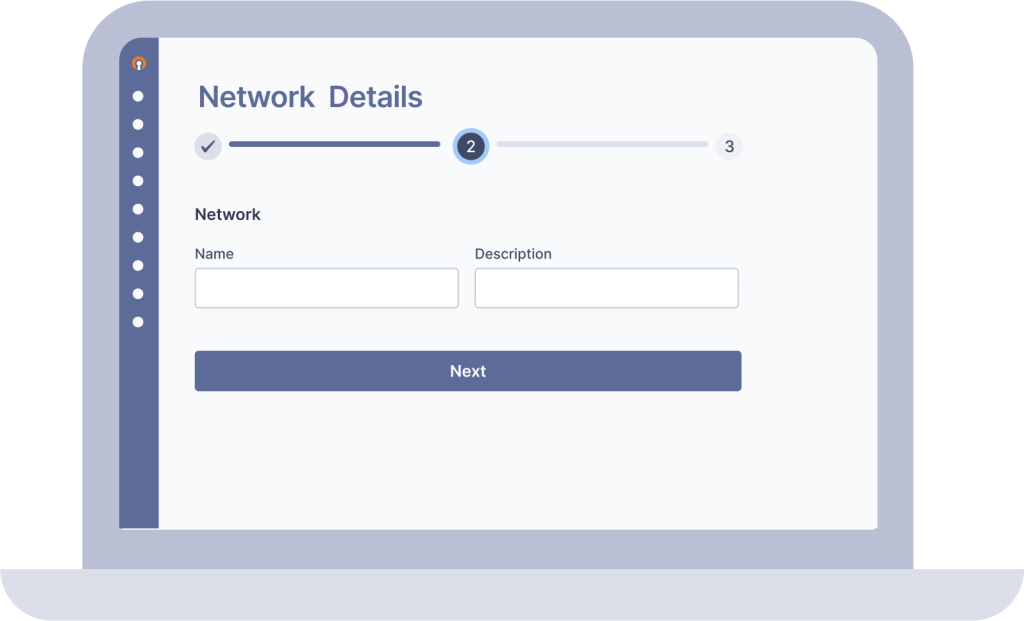
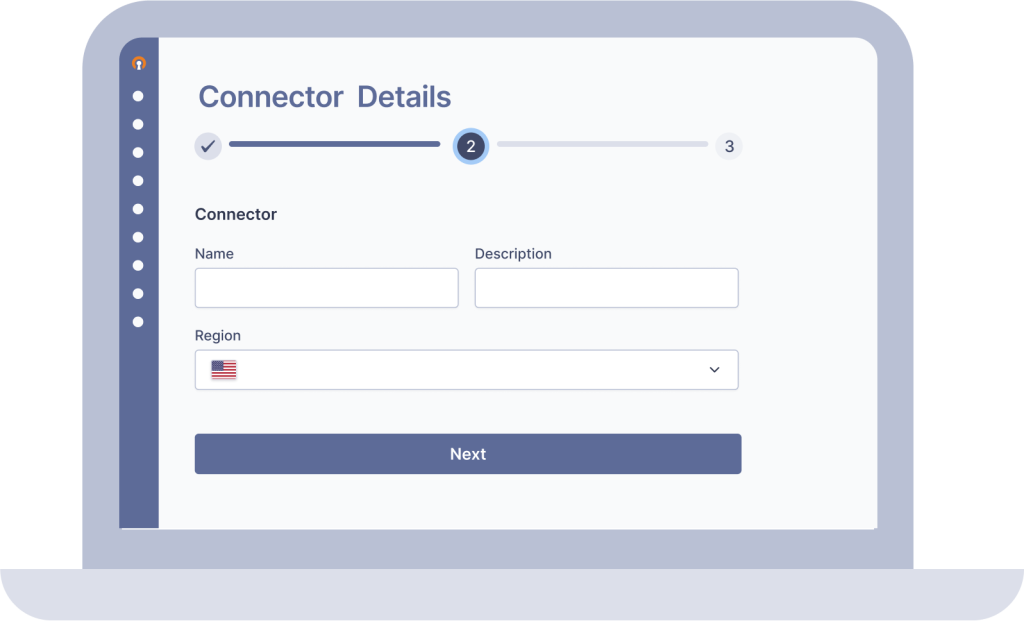
Step 4: Provide Network Details
You'll be asked to provide a Network Name and an optional Description. This will help you identify and manage your network more effectively. The Description is an optional field where you can provide additional information about your network.
Step 5: Configure the Connector
Next, you'll need to set up the Connector. Give it a name, select a Region, and click "Next." You’ll want to select the region that’s closest to where your private network is located.
Step 6: Choose Your Connector Type
Depending on your setup, you'll need to select a connector type. Each connector type has some unique set up steps, so make sure you select the correct one for your situation. One of the most common connector types is AWS — if that’s you, keep reading. If not, don’t worry — we've got user guides for each one. You can find them here.
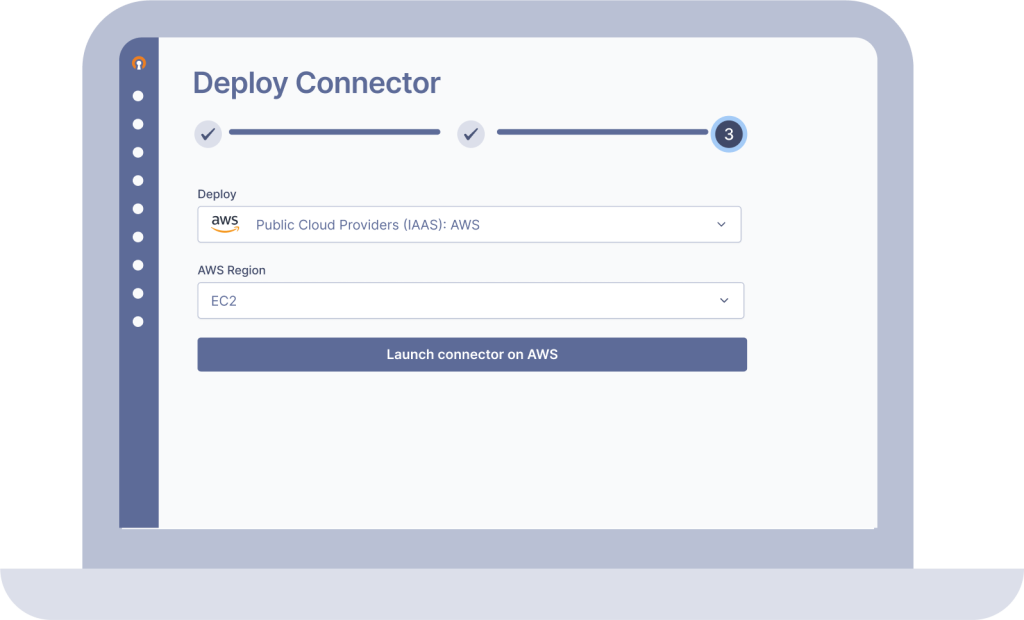
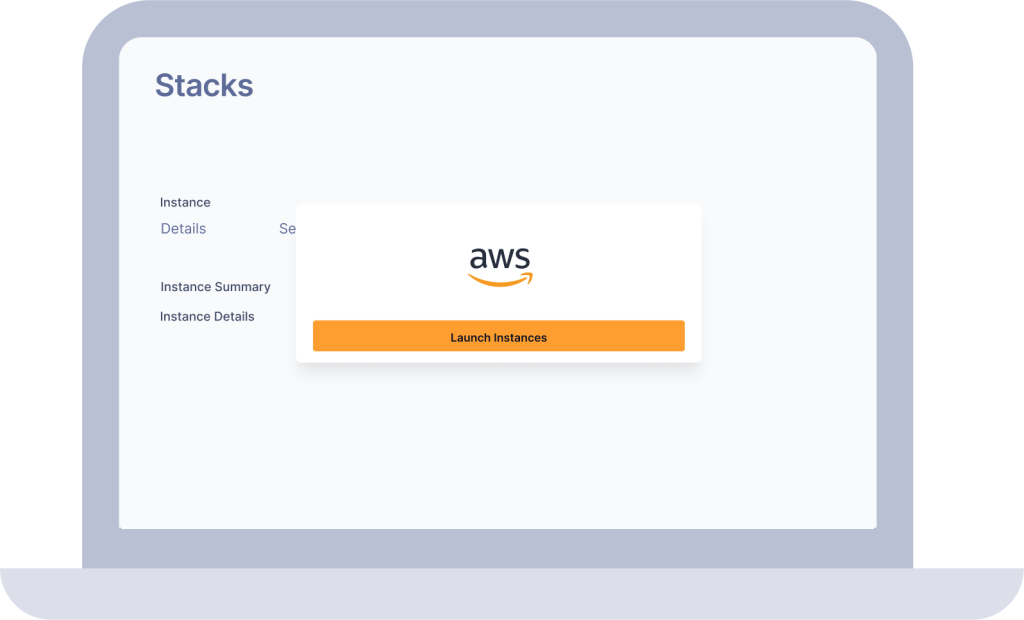
Step 7: Launch an AWS Stack.
If your connector type is “AWS,” you’ll be prompted to select an AWS region. Do that, then click “Launch,” and you’ll be able to log into AWS.
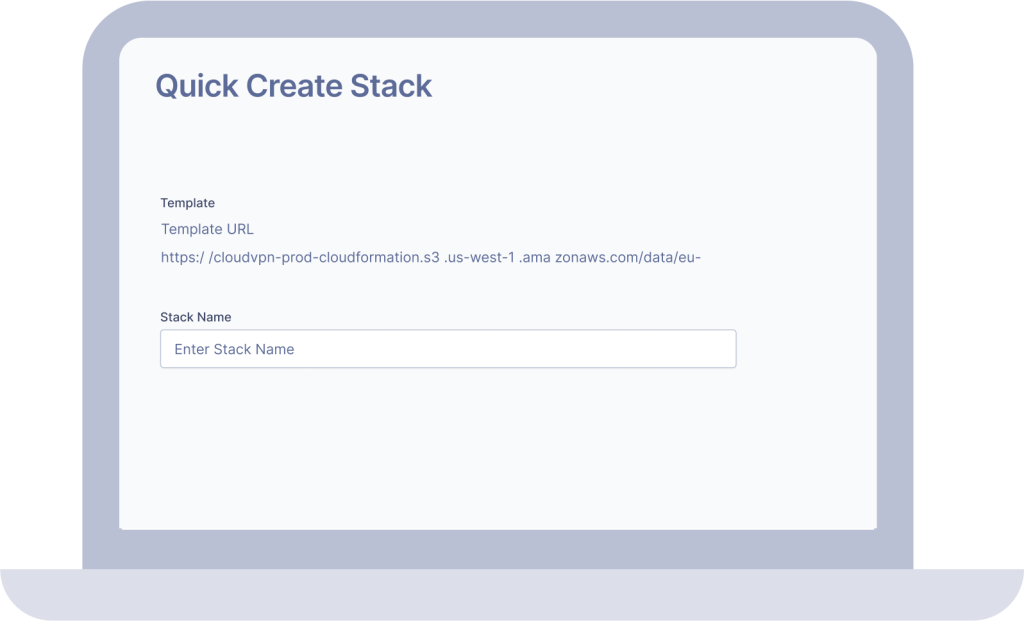
Step 8: Specify Stack Details
Once you’re logged into AWS, you’ll need to launch a stack. A Stack is a collection of AWS resources that you can manage as a single unit. On the "Quick create stack" web page in the AWS environment, specify the stack details, including the Stack name, KeyName, SubnetId, and VpcId. Then, click "Next." Note that you can use an existing VPC (Virtual Private Cloud) and IP subnet if you prefer.
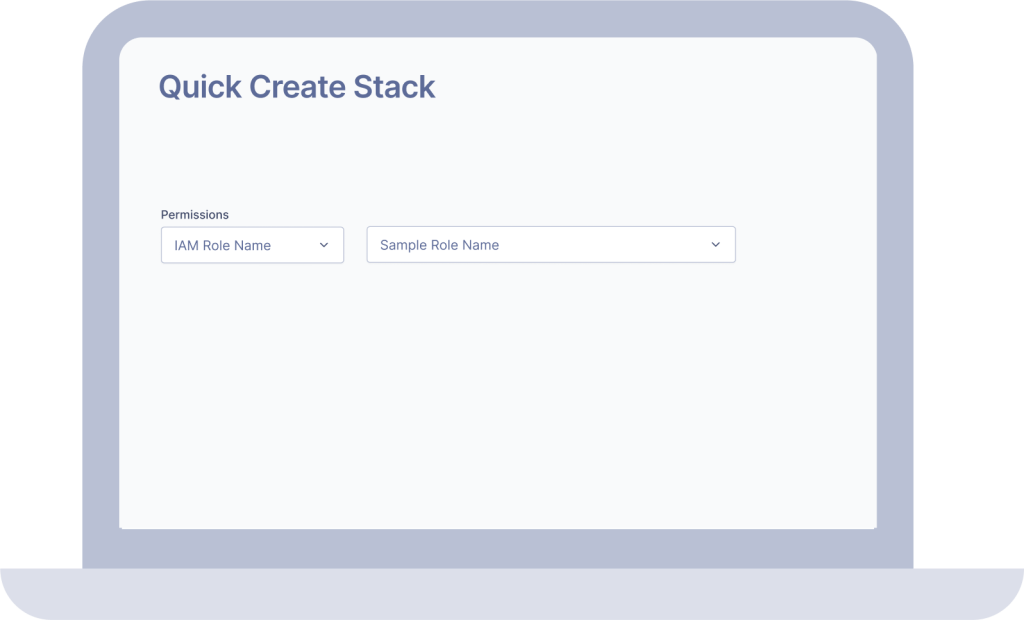
Step 9: Create IAM Resources
On the same page, check the box that says, "I acknowledge that AWS CloudFormation might create IAM resources." This grants CloudFormation, and AWS service, the permission to create an IAM role named "RouteManagerRole," which is essential for managing routing in your Virtual Private Cloud (VPC) as part of the Connector deployment.
Step 10: Monitor Stack Creation
Now, keep an eye on the stack creation. It will go from "CREATE_IN_PROGRESS" to "CREATE_COMPLETE." This might take a little time, so be patient.
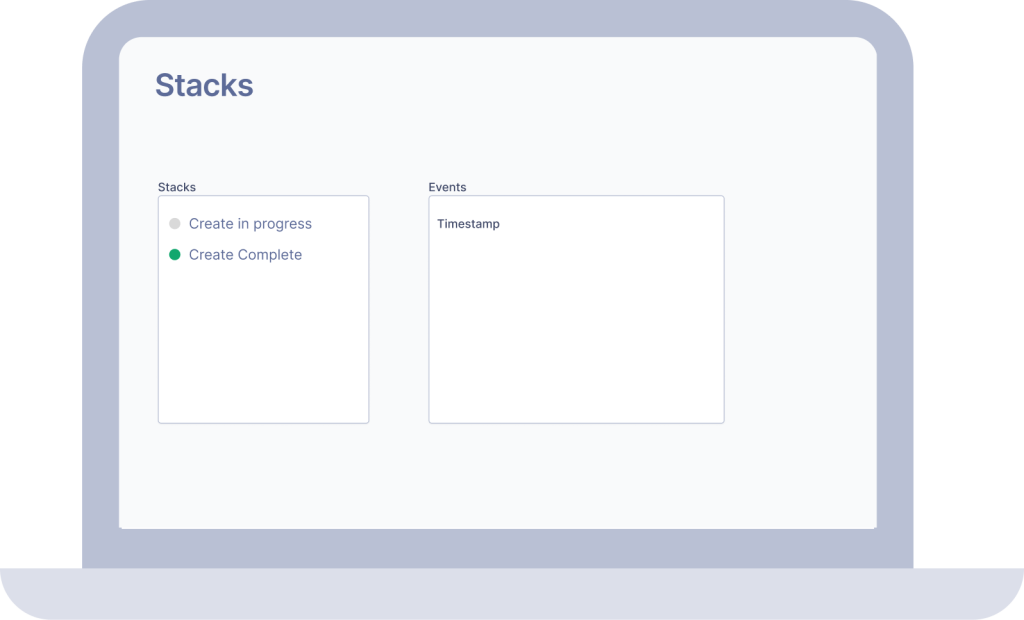
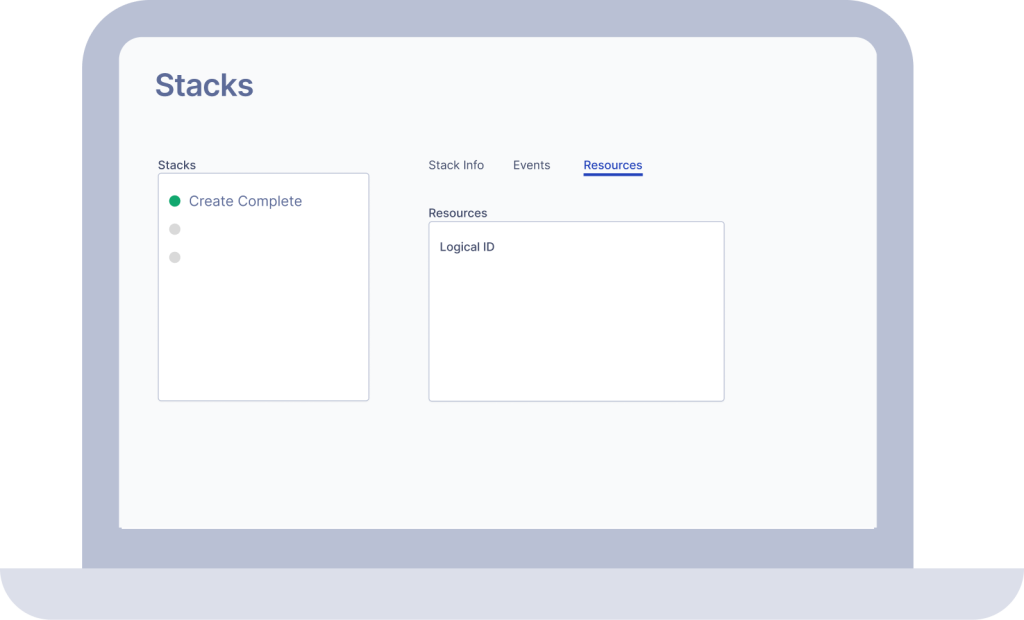
Step 11: Check Created Resources
Once the stack creation is complete, open the "Resources" tab to view the resources that were created. Make sure to look for the RouteManagerRole, InstancSecurityGroup, InstanceProfile, and the EC2Instance. These resources play important roles in the functioning of your Connector.
Step 12: Check EC2 Instance Details
To check the details of the EC2 instance, click on the Physical ID of the EC2 instance. An EC2 instance is a virtual server running on Amazon Web Services' Elastic Compute Cloud (EC2). Please note that the EC2 instance uses Ubuntu, and if you want to connect to it with SSH, use "ubuntu" as the username.
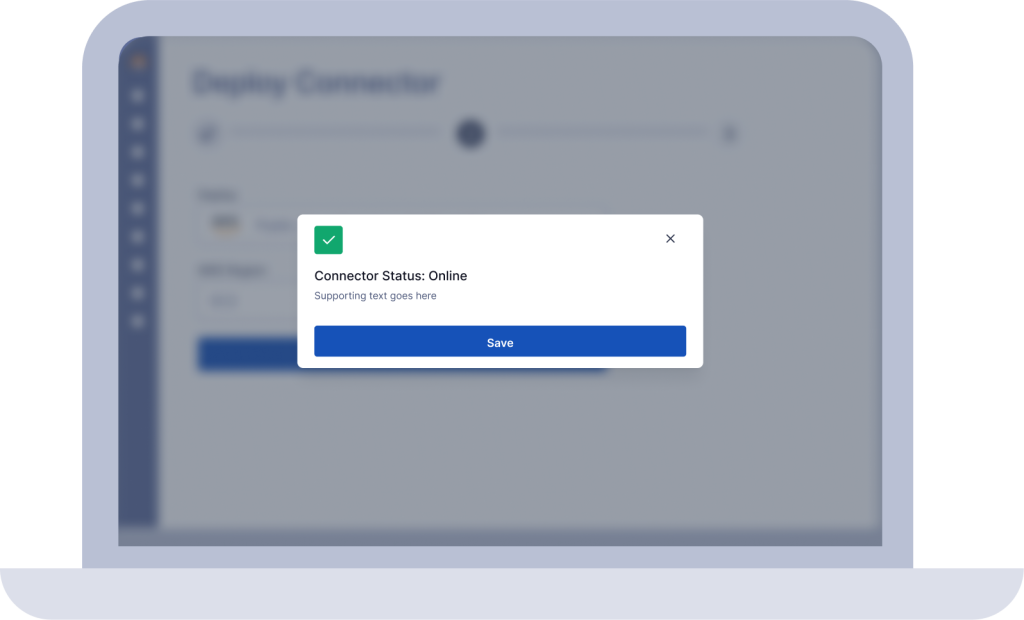
Step 13: Verify Connection
Congratulations! The newly installed Connector will automatically connect to the Region, and you'll see your Network showing up as "Online" on the Status page of the CloudConnexa Admin portal.
Successful connector installation and additional resources
And there you have it! You've successfully deployed a connector on CloudConnexa. If you’d like further details, you can always check out or more in-depth guides here. And if you encounter any issues or need further assistance, don't hesitate to reach out to our support team. We're here to help you every step of the way.