How to Launch the Windows and MacOS OpenVPN Connect Client
A Brief How-To Guide
CloudConnexa is now CloudConnexa® — learn more here.
Once you’re set up with CloudConnexa, how do you get your team to connect? Here’s a quick how-to for directing each user to get them up and running.
First things first, make sure they download the OpenVPN Connect App. This is what allows them to actually connect to your network. Here’s where they can download whichever version they need for their current system. With the OpenVPN Connect App in place, connecting to your network becomes a straightforward process, ensuring that your team can start working securely, no matter where they are.
Once that’s done, the remaining steps are fairly straightforward.
5 steps to get started with OpenVPN Connect
By following this VPN guide, you'll enable your team to leverage the full capabilities of CloudConnexa, ensuring a secure, reliable, and flexible remote access solution that meets the needs of today's dynamic work environments.
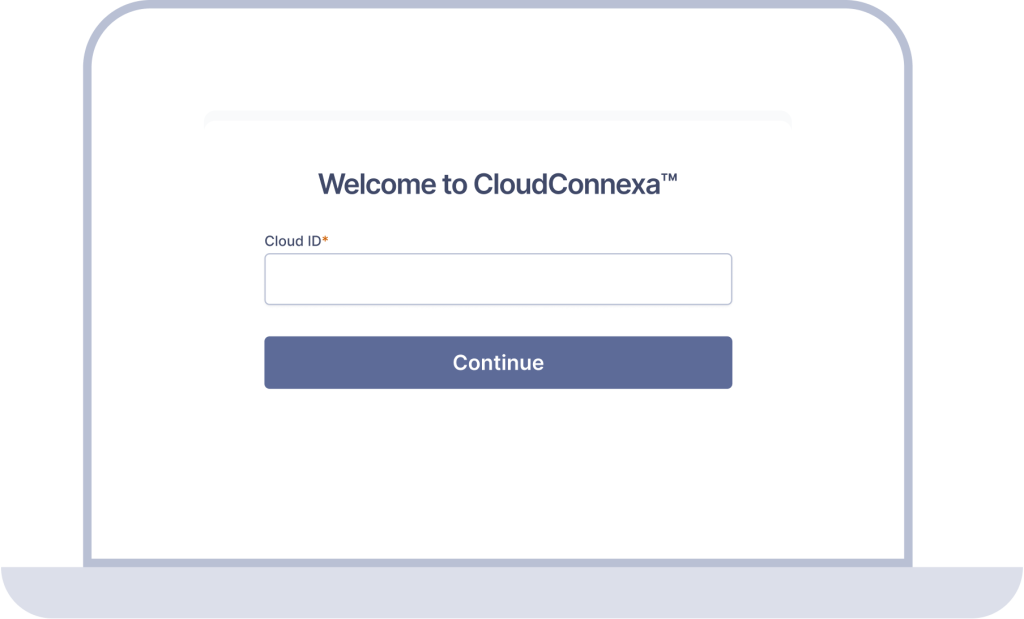
1. Accessing your organization's VPN Portal
Before anything else, ensure you have the OpenVPN Connect app installed on your device. This essential step is the gateway to a secure network connection. Once installed, navigate to your organization’s unique URL, typically formatted as https://mycompany.openvpn.com.
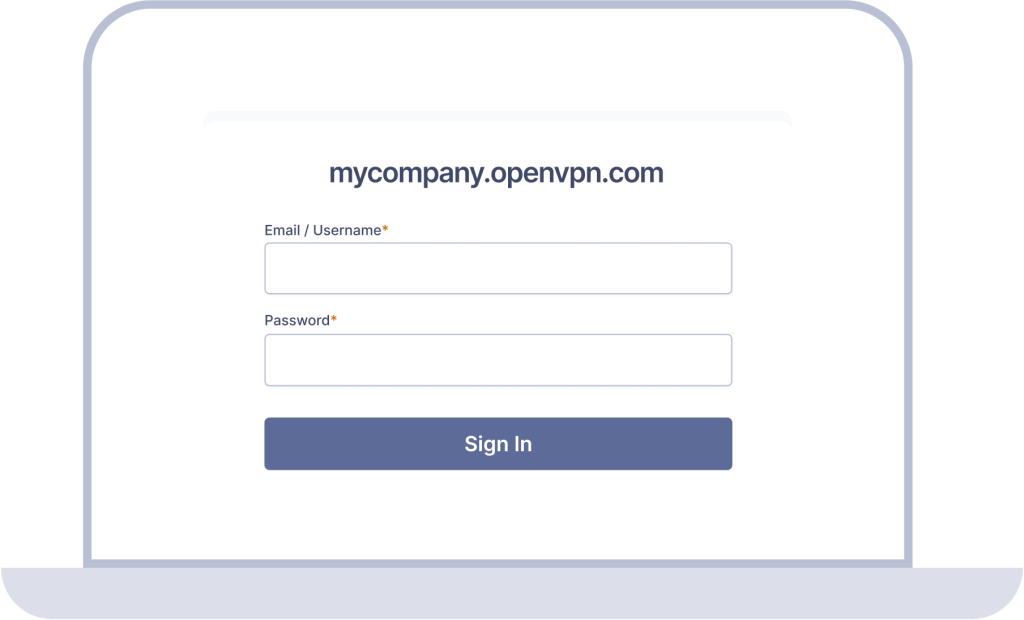
2. Secure sign-in with credentials
Upon reaching your organization's VPN portal, you will be prompted to sign in using your credentials. This step is crucial for verifying your identity and ensuring that only authorized users can access the VPN. Enter your name and password as provided by your organization.
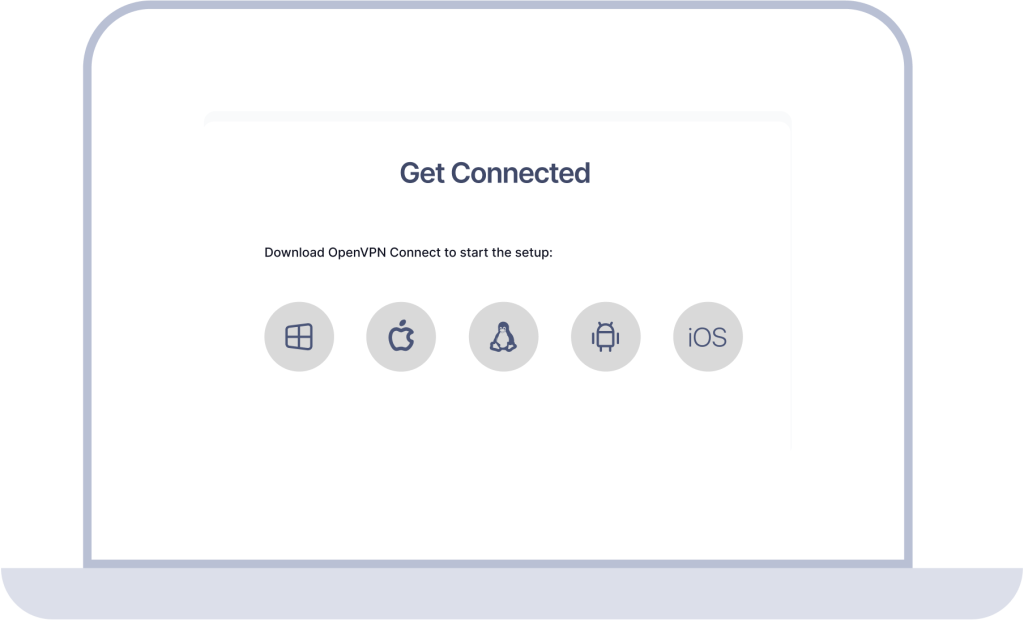
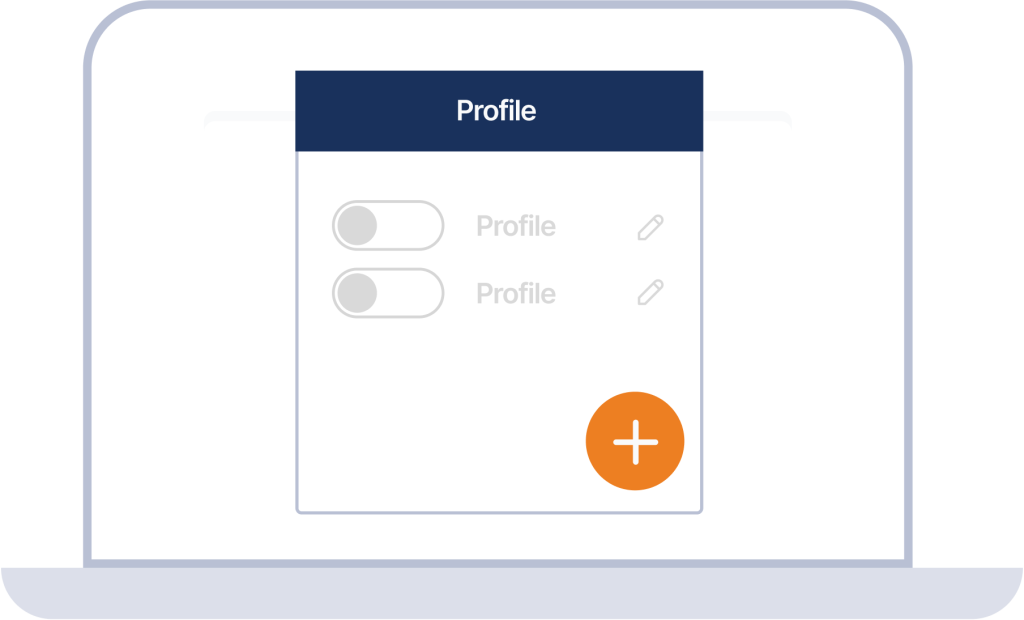
3. Downloading your connection profile
After successfully signing in, the next step involves downloading a CloudConnexa connection profile specifically configured for the OpenVPN Connect app. This profile contains all the necessary settings and credentials to establish a secure connection to your organization's network.
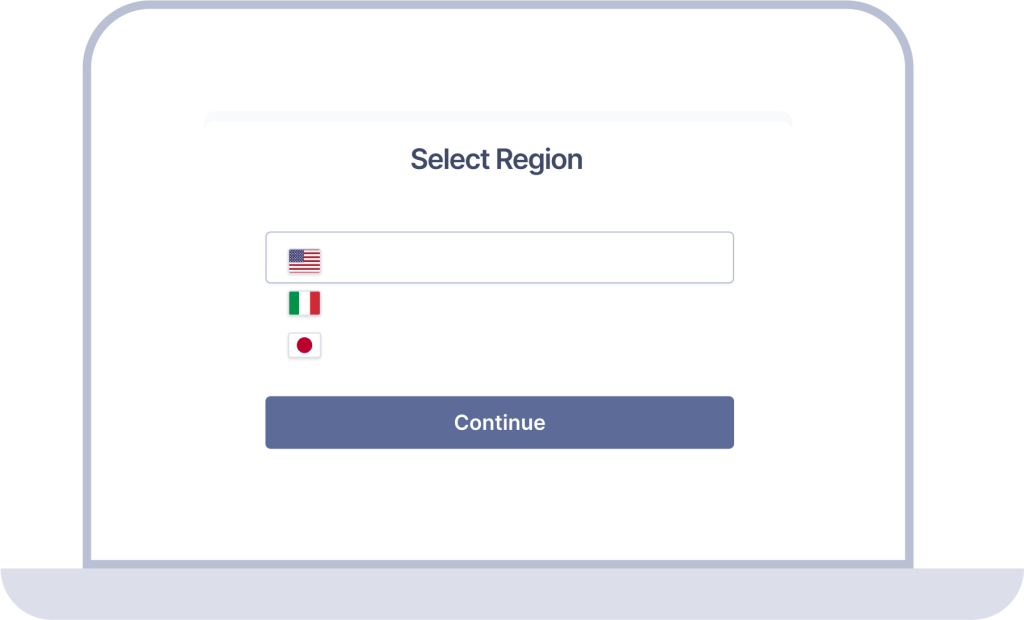
4. Selecting your preferred VPN region
Depending on how your organization's VPN is set up, you may have the option to select the VPN region you wish to connect to. This feature is particularly useful for users who need to access region-specific resources or for optimizing connection speeds.
5. Connecting to the VPN: automatic vs. manual options
Finally, once you've imported your VPN profile into the OpenVPN Connect app, it's time to connect to the VPN. You have two options: connect automatically upon importing the VPN profile or opt to connect manually at your convenience. The automatic option is ideal for those who prefer a seamless connection experience without the need to manually initiate the VPN each time. However, if you prefer more control over when you connect, choosing the manual option allows you to establish a VPN connection only when you need it.
Completing your VPN setup
By following these steps, you'll ensure a secure, efficient, and user-friendly setup process for connecting to your organization's network via VPN. If you come across any bumps in the road, however, don’t hesitate to reach out to our support team — we’re here to make sure you’re up and running in no time.