Businesses use our commercial solutions Access Server or CloudConnexa.
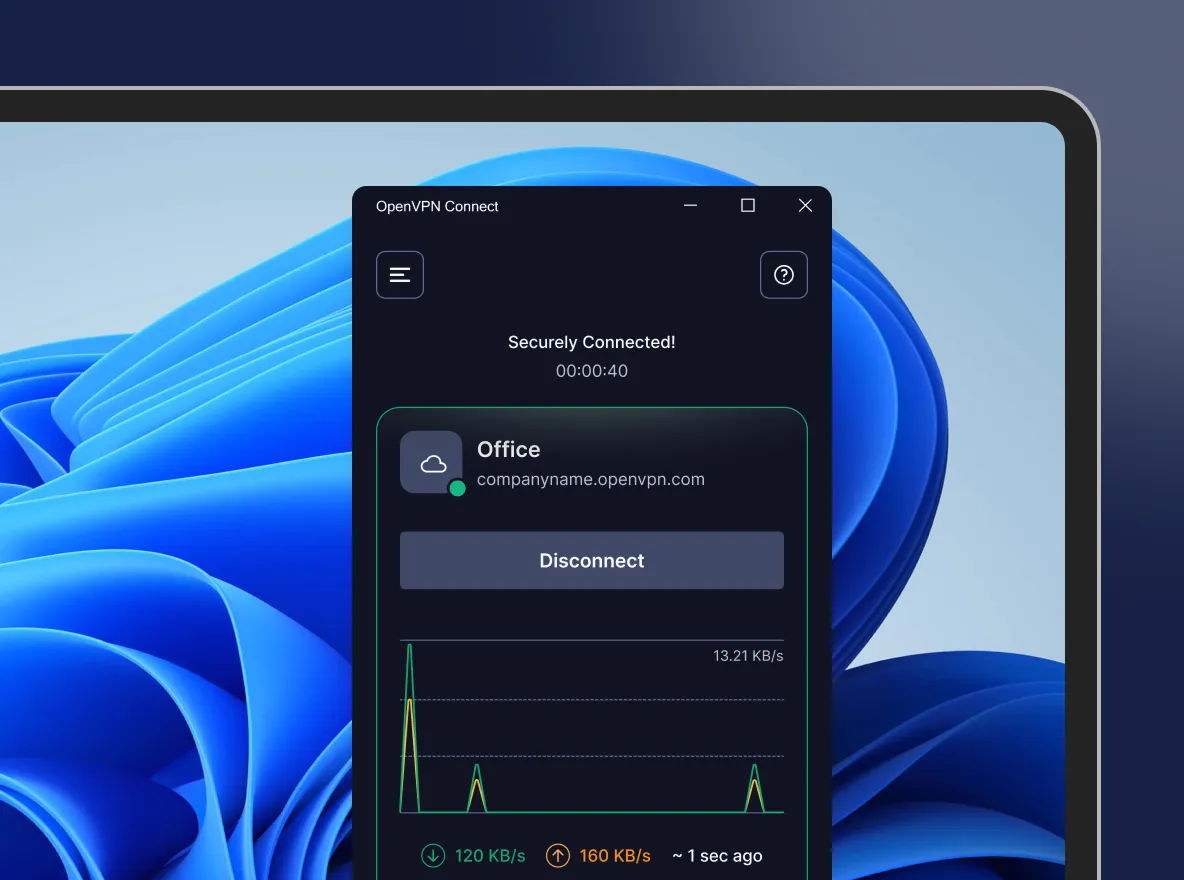
OpenVPN Connect for Windows
Download official client application that enables you to securely access your organization's network resources.
Available for: Windows 10, and Windows 11
Check what’s new
Or download for other platforms:
macOS
Linux
iOS
Android
ChromeOS
Set up OpenVPN Connect

Download the OpenVPN Connect app
Download and run the OpenVPN Connect for Windows installer. Follow the on-screen prompts to complete the installation. The application will appear in your Start menu.
Import your connection profile
Upload the .ovpn file or enter the URL — either your Access Server's IP address or CloudConnexa's Cloud ID — provided by your IT team or VPN provider.
Connect to the VPN
Toggle the switch next to your connection profile to establish your VPN connection. You'll see a status indicator when your connection is active.