Businesses use our commercial solutions Access Server or CloudConnexa.
Welcome to OpenVPN Open Source
A place where users, developers, and enthusiasts share knowledge, solve problems and improve the OpenVPN experience.
OpenVPN open source community edition
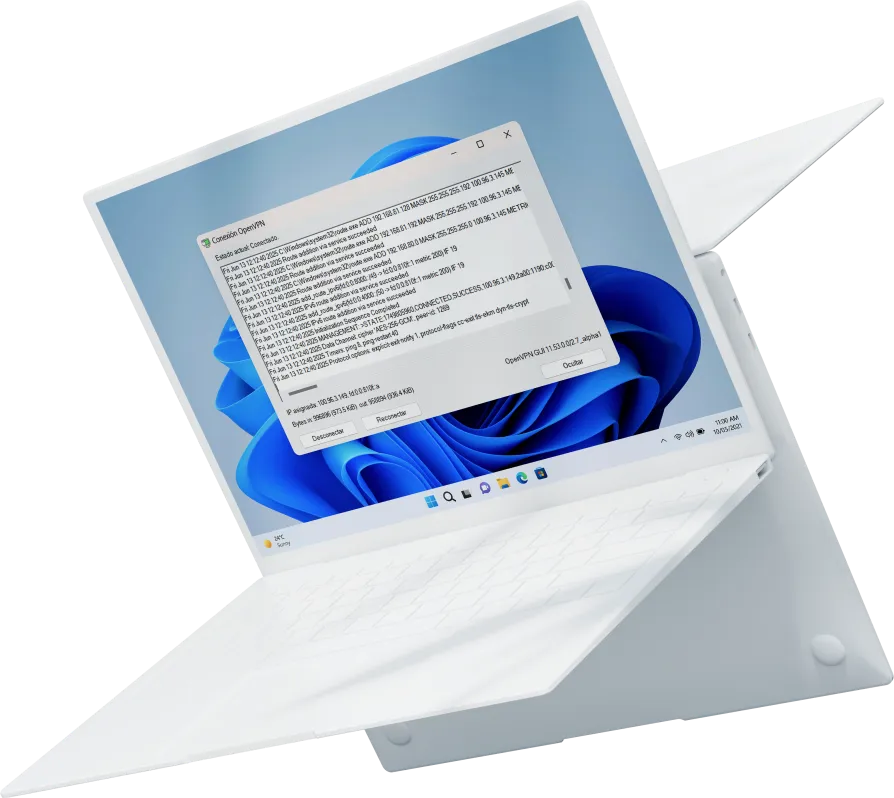
For Windows, installers are available with OpenVPN GUI client software and a system service daemon. Installers are available for x86-64, ARM64 and x86 (32-bit).
Supported on all Windows platforms from Windows 10 onward, including Windows Server editions.
