Tutorial: Configure a PfSense Router To Connect to CloudConnexa
This tutorial contains instructions on how to use a PfSense router and configure it to use a Connector profile to connect to CloudConnexa and make the network part of your WPC.
Introduction
Many of our Users have expressed interest in using CloudConnexa compatible routers to connect to CloudConnexa instead of using the Connector application.
While connecting in this manner may not yield the best performance, due to the limited processing power and memory of the router, it could be useful in cases where convenience, rather than high throughput, is required.
Important
The information provided here is for educational and informational purposes only. We are not responsible for any damages you incur as a result of using these instructions. For technical support, contact the router supplier or the appropriate community forums. It is not guaranteed that all firmware versions will work as expected with CloudConnexa, and some features may be incompatible. We recommend updating the firmware to the latest version.
Downloading the Connector Profile
Sign in to the CloudConnexa Administration portal at https://cloud.openvpn.com.
Navigate to Networks.
Select Networks.
Click the name of the router Network.
Click the Connectors tab.
Click the Deploy drop-down menu of the Connector you wish to modify.
Select Deploy Connector.
Click the Provider Type drop-down menu.
Select pfSense.
Click Download OVPN Profile.
Alternatively, you may download the profile by clicking the Network name, and the edit icon for the Network.
Or from the Connectors menu.
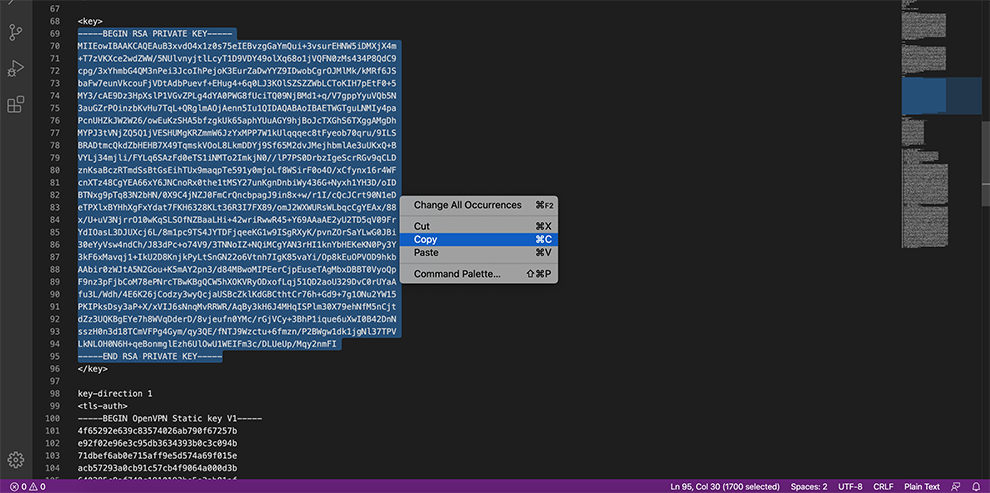
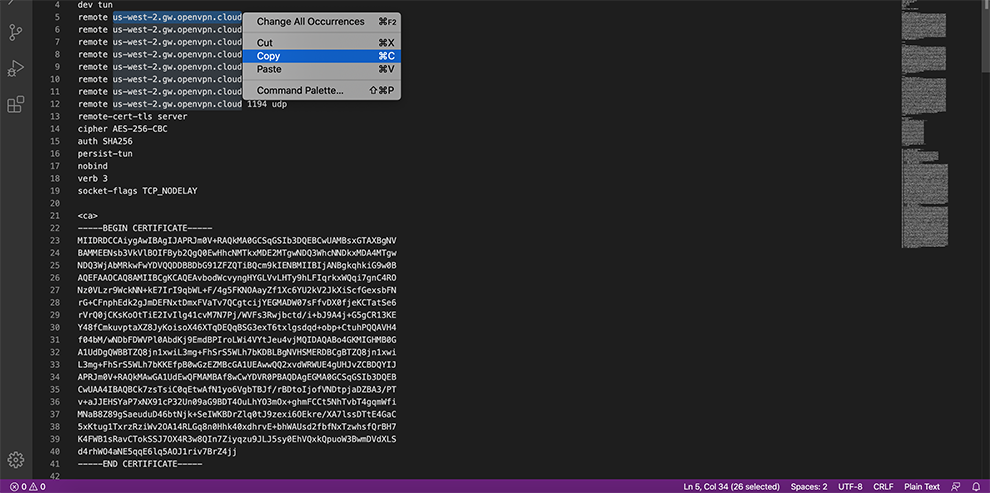
Open the downloaded Profile file in a text editor. In Windows, the file must be opened in a text editor other than Notepad (e.g. Wordpad / Notepad++).
Configuring pfSense
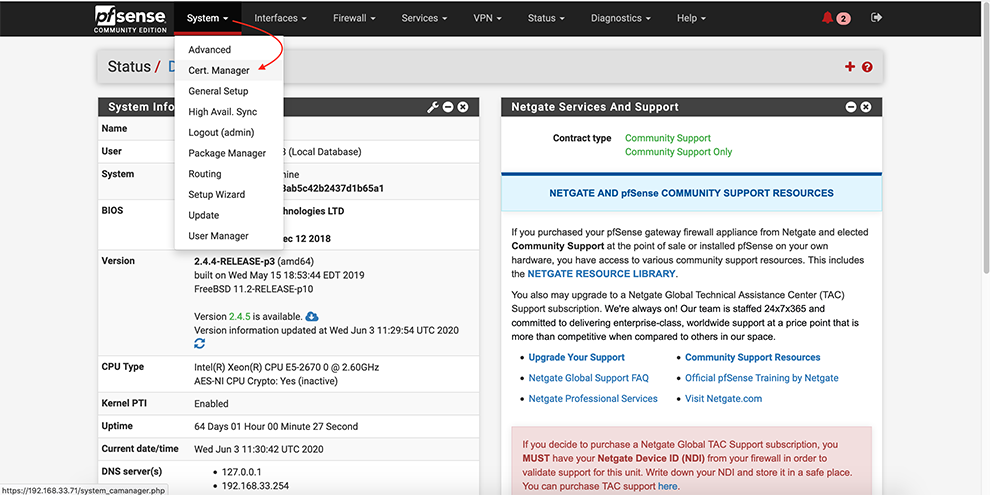
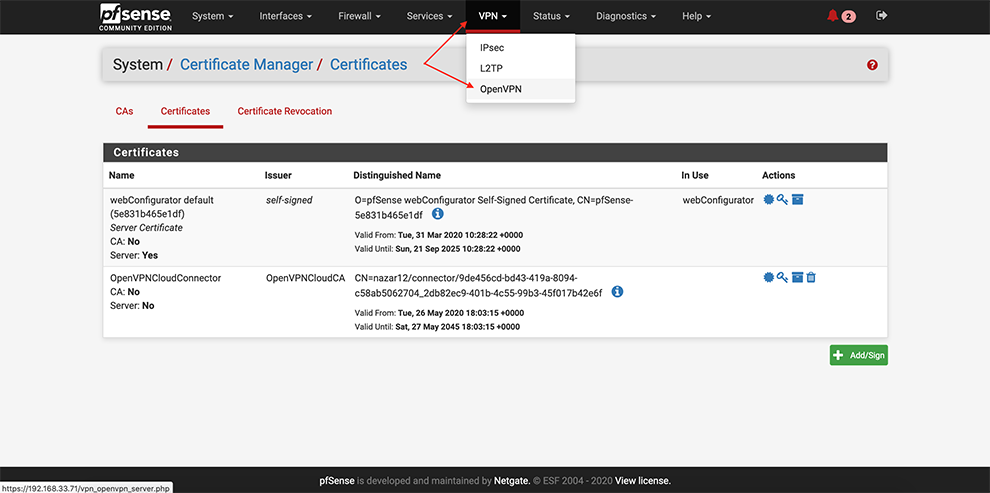
From the main menu go to System → Cert. Manager
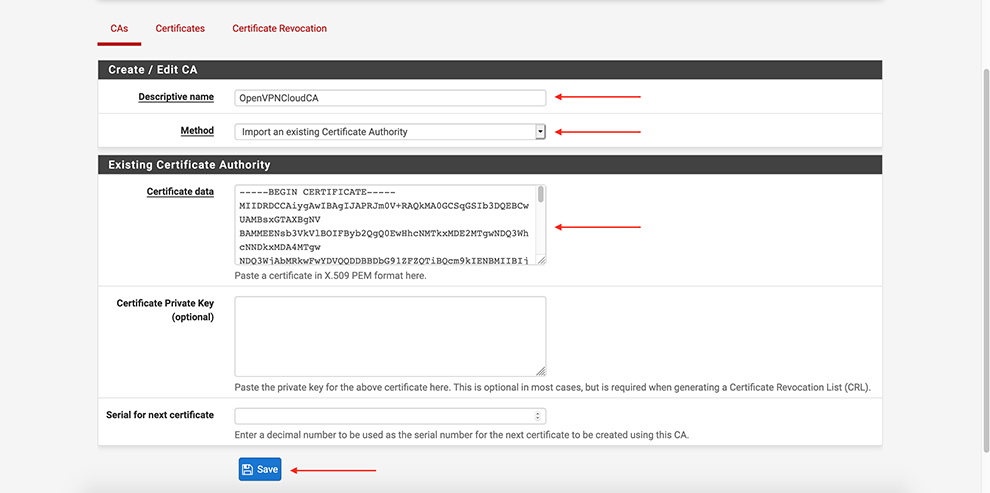
Next, go select CAs → Add
Select Method Import an existing Certificate Authority
Set some “Descriptive name”
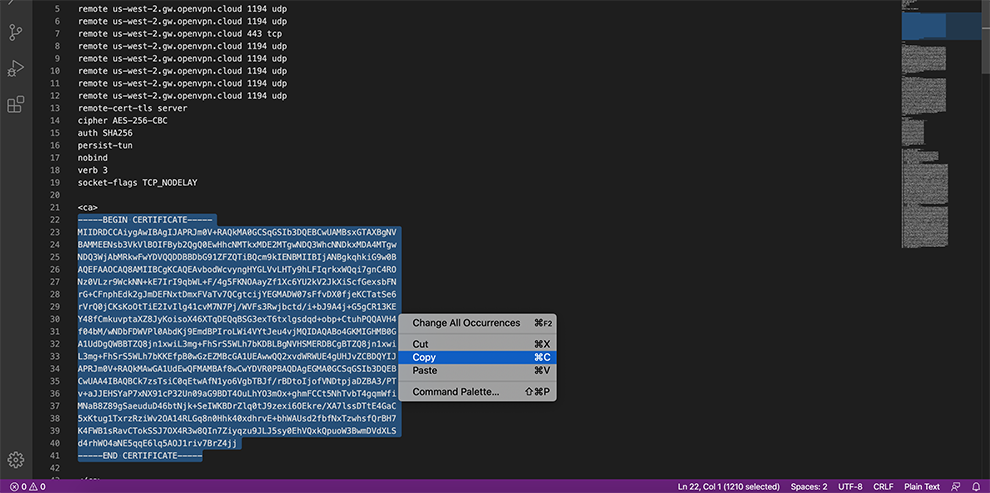
In the Certificate Data space, copy the data from the Connector’s Profile: everything between Certificate Authority <ca> and </ca>
Click Save
Certificates → Add
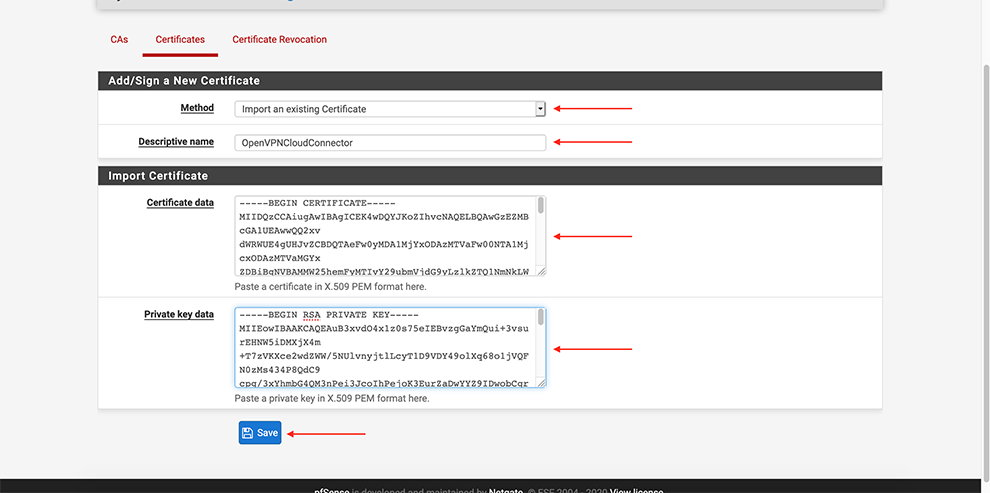
Select Method Import an existing Certificate
Set some “Descriptive name”
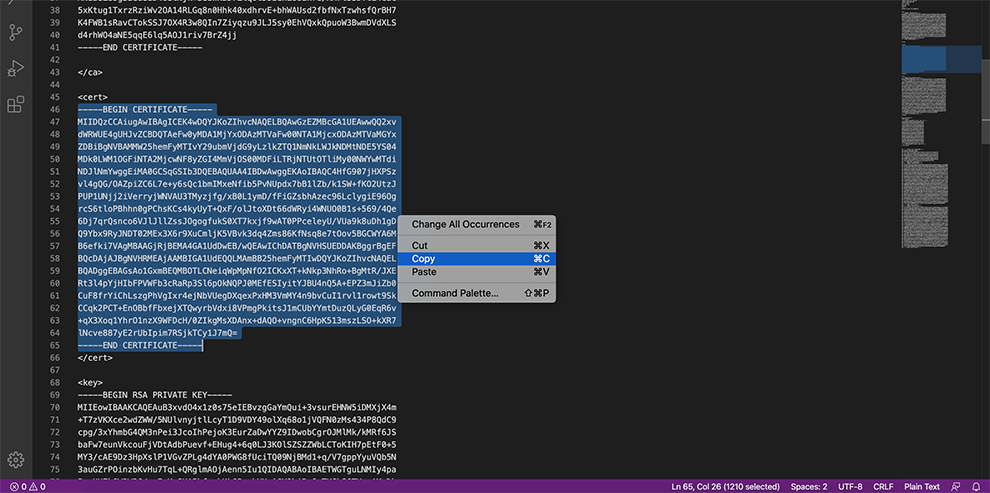
In the Certificate Data space, copy the data from the Connector’s Profile: everything between the Certificate data and between the Private key data <cert> and <cert>.
In the Private key data space, copy the data from the Connector’s Profile: everything between <key> and <key>.
In certificate type, choose: X.509 (PEM)
Click Save
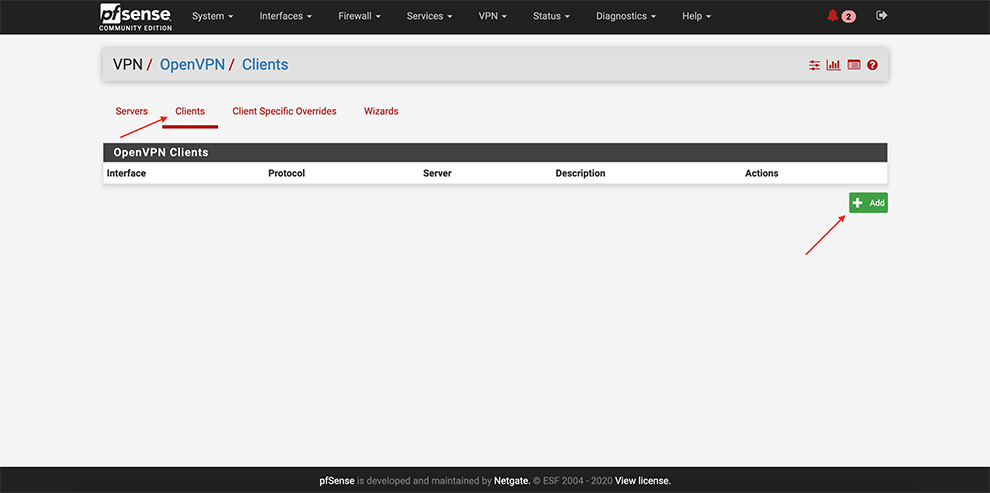
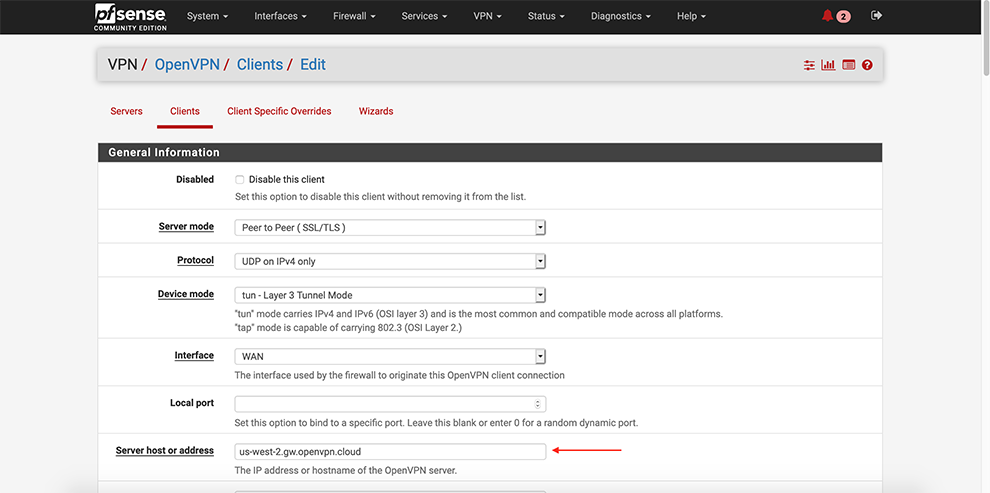
From the main menu go to VPN → OpenVPN
Select Clients → Add a client
Enter preferable PGMT Hostname of the Cloud Connexa server in the Server Host or address field. Refer to Region Locations to find hostnames if needed.
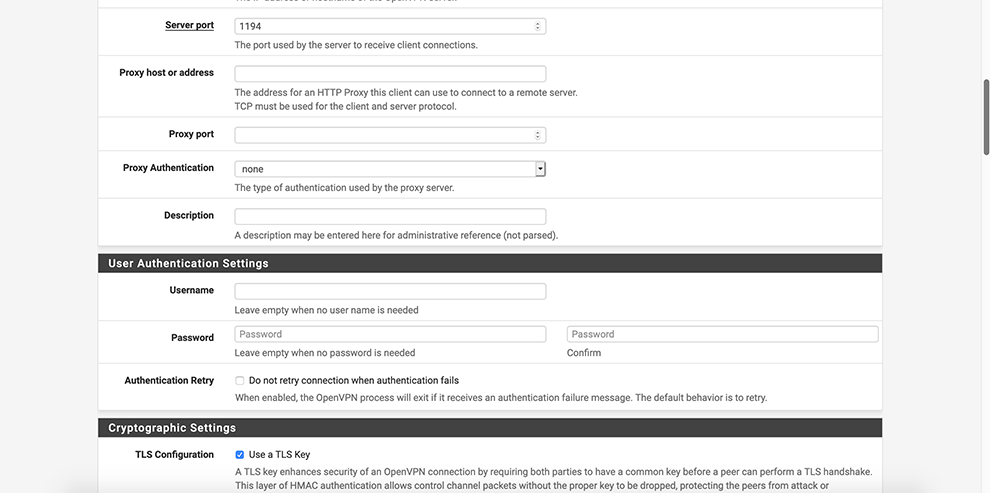
Uncheck Automatically generate a TLS Key
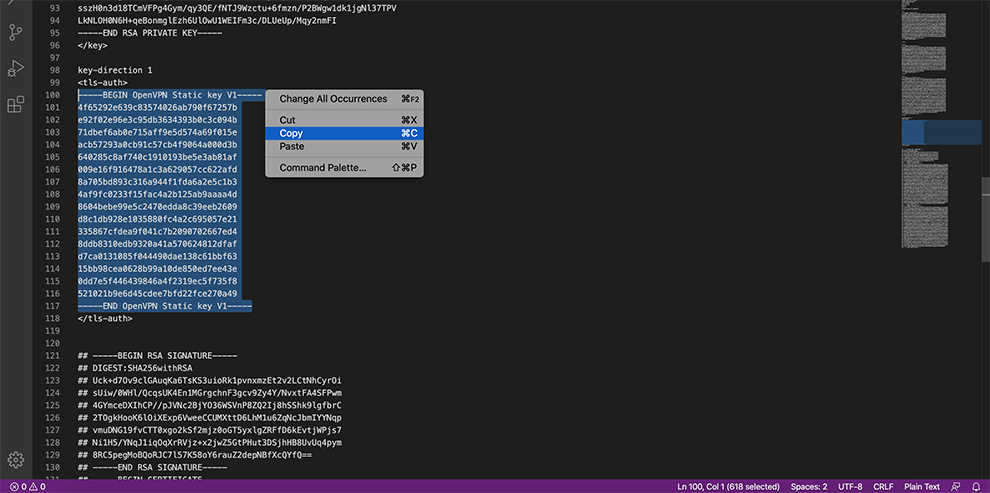
In the TLS Key space, copy the data from the Connector’s Profile: everything between the TLS Key <tls-auth> and <tls-auth>.
Select your Certificate Authority in the Peer Certificate Authority drop-down menu
Select your Certificate in the Client Certificate drop-down menu
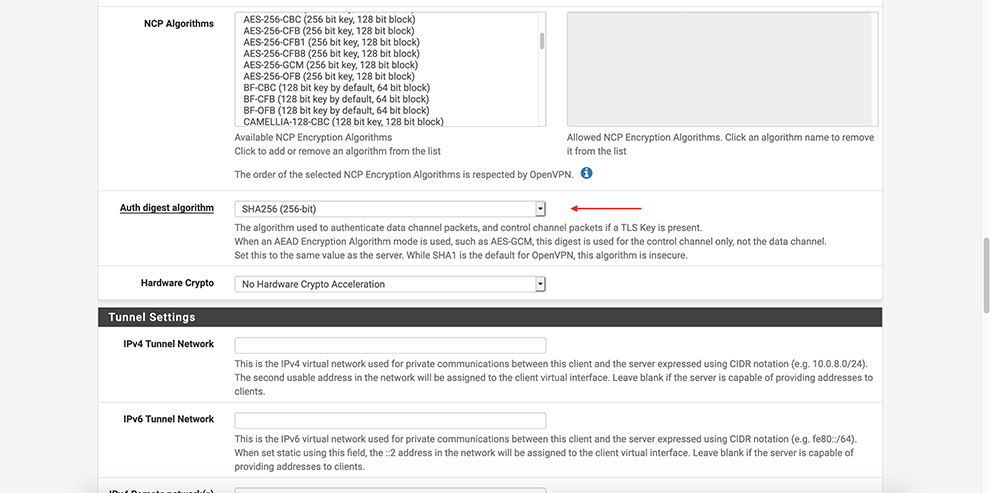
Select AES-256-GCM in the Encryption Algorithm Data Encryption Algorithms drop-down menu
Select SHA256 in the Auth Digest Algorithm drop-down menu
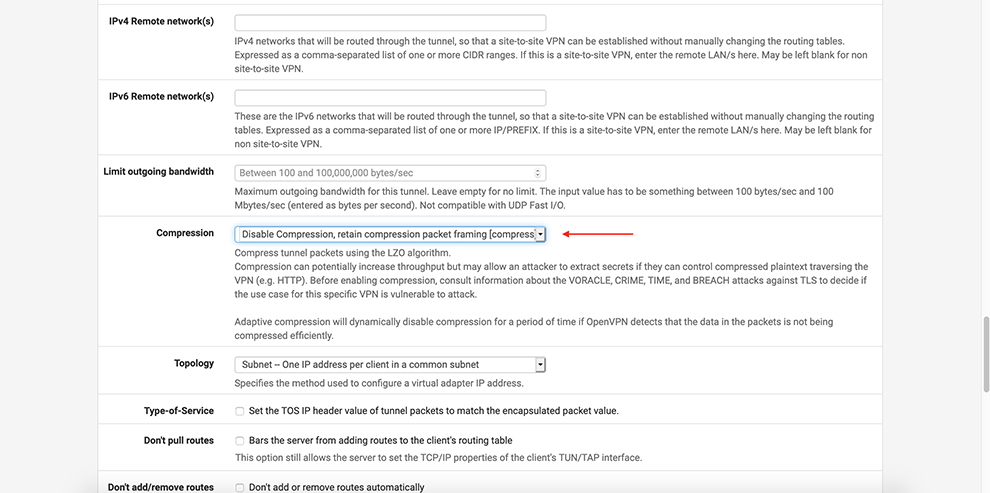
Select Disable Compression in the Compression drop-down menu
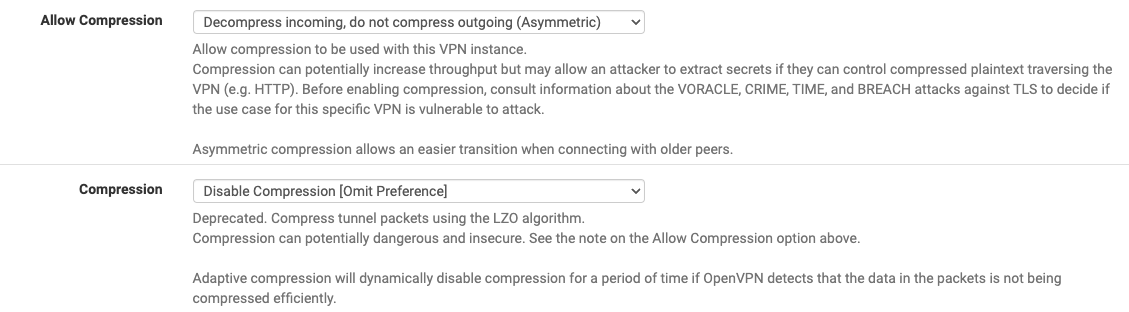
In Allow compression drop-down choose: Decompress Incoming, do not compress outgoing (asymmetric)
In Compression drop-down choose: Disable Compression [Omit Preference].
Click Save
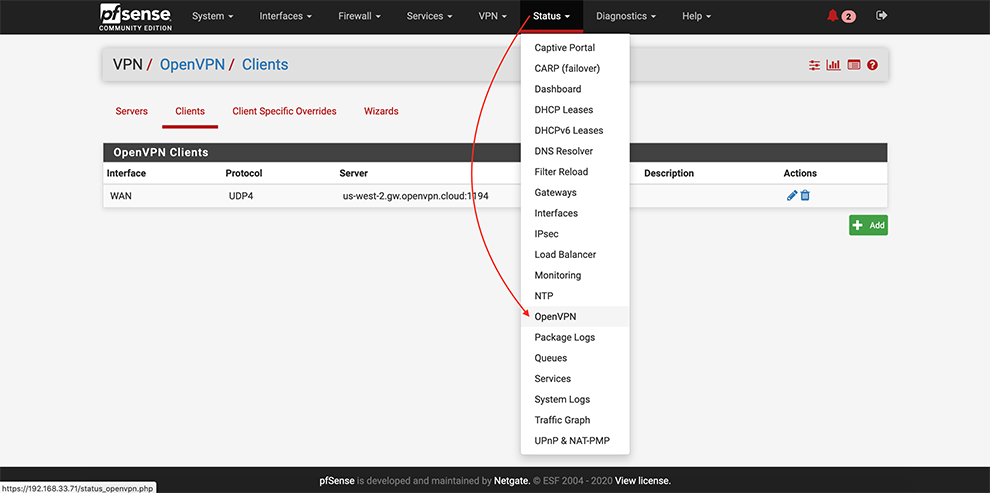
From the main menu go to Status → OpenVPN
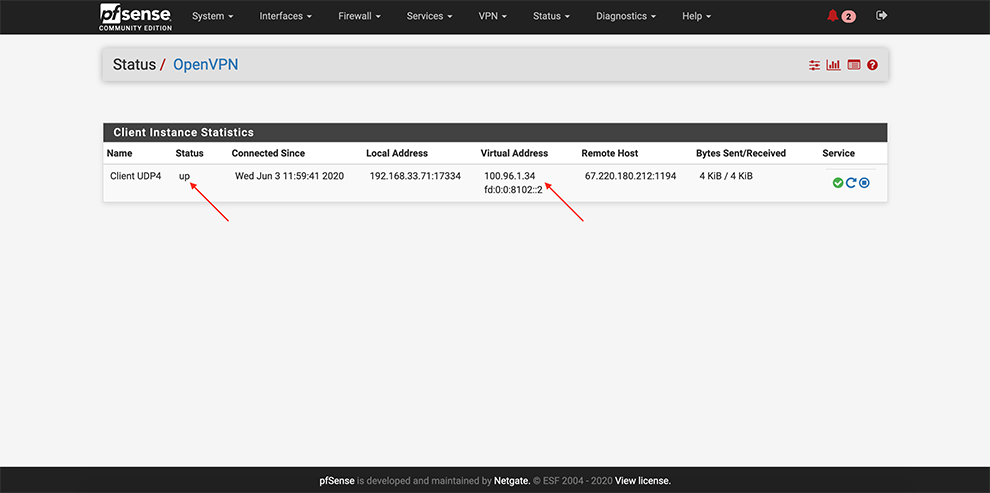
Ensure that OpenVPN service is up and Virtual IP Addresses are assigned
Enable the tunnel interface by carrying out the steps below:
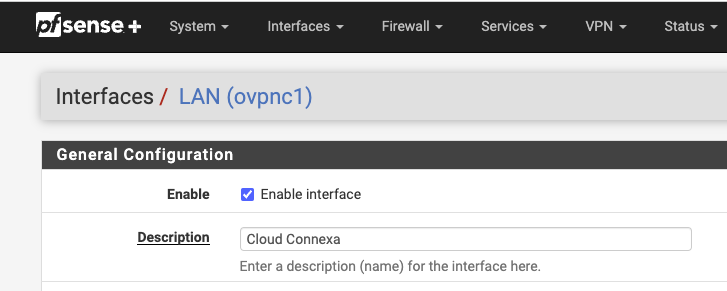
Interfaces > assignment
Add > Choose the tunnel created for CloudConnexa. It will be shown as LAN. Click on the name > Enable it and change the name if desired.
Click Save.
Apply changes.
On Status > Interfaces check that the tunnel interface is added with status: Up.
Enable NAT by carrying out the steps below:
Firewall > NAT > Outbound
Outbound NAT Mode: Hybrid
Add > interface Pointing to local resources
Interface > WAN
Address Family > IPv4+IPv6
Protocol > Any
Source > Any
Destination > Any
Click Save
Apply Changes
Note
If there are any problems, please check Status > System logs > Firewall to ensure that there are no firewall rules blocking traffic.