Tutorial: Install a Connector on macOS
This tutorial shows you the steps to take to install a CloudConnexa Connector on macOS. You can then use the computer as a router to connect your network to CloudConnexa or as a Host to just make the services available on that computer to CloudConnexa.
To install a Connector on a private Network running macOS for a CloudConnexa Host, follow these steps:
Sign in to the CloudConnexa Administration portal at https://cloud.openvpn.com.
Access Hosts and click to add a new Host.
Give the Host and Connector a name, select a Region for the Connector, and click the checkmark to save.
Note
The Connector has been assigned a WPC IP Address
100.96.1.82Click on the download icon next to the Connector to show the various download options.
Click on Download Connector App for Mac option.
You can click on the Download button if you want to download and install the Connector on the computer that you are working on or you can click on Copy URL button to open the URL in the browser of the target macOS computer so that the software gets downloaded directly on that computer.
Go to the macOS computer and paste the URL in the browser to start downloading the OpenVPN Connect Client and its bundled Profile. This has to be done within 15 minutes of URL generation.
Click on the downloaded installer to start the installation process.
Double-click on the installer to start the installation.
Click on the Continue button.
Click on the Agree button.
Click on the Install button to begin the installation.
Installation progress will be shown.
Click on the Close button to exit the installer.
Launch the OpenVPN Connect application using Launchpad.
Click on the profile that is already present to connect to your CloudConnexa.
Optional: If the Connector is a Connector for a Network instead of for a Host
Please see Connecting Networks to CloudConnexa Using Connectors for information on actions needed to be taken outside the scope of CloudConnexa to enable proper routing of traffic between your private Networks and WPC clients
Optional: Remote Management using VNC
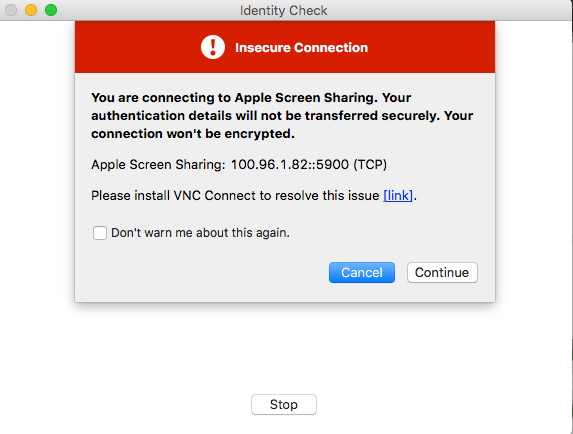
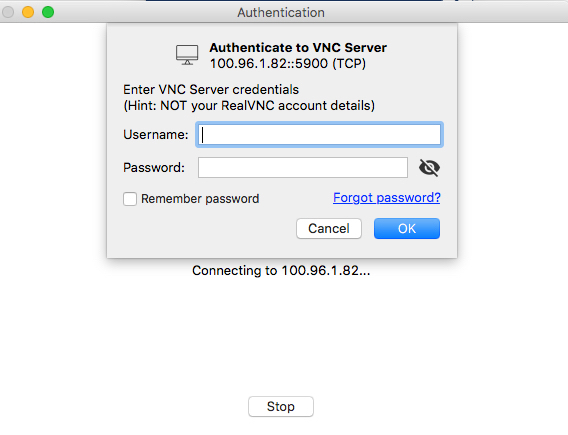
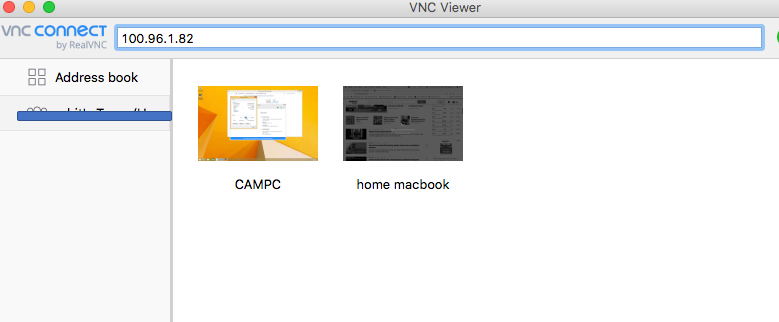
If the macOS computer you installed the Connector on has Remote Management turned ON, you can securely connect to it via CloudConnexa and VNC viewer by using the WPC IP Address of the Connector (in this example, 100.96.1.82). The screenshots below show the macOS Host being connected to using VNC Viewer
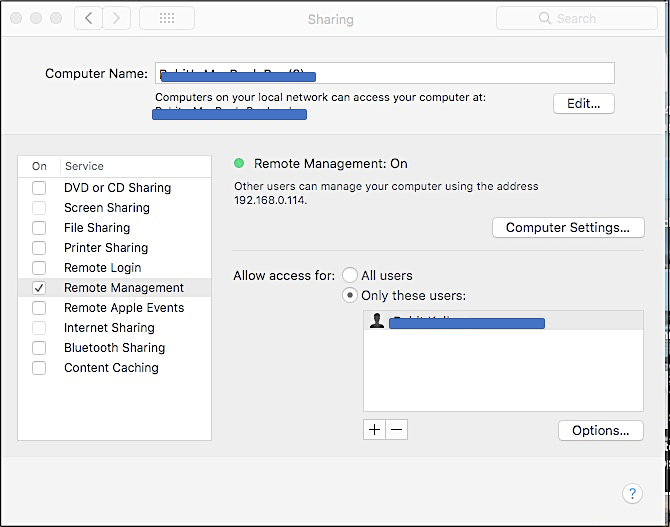
Turning Remote Management ON on the Host
CloudConnexa User remotely managing the Host by connecting to it with the Host’s WPC IP address
Note: While the warning is accurate about the Apple Screen Sharing connection not being secure or encrypted by the application, it can be ignored because the connection is being secured and encrypted by the use of CloudConnexa.