
Global Configuration File Support for iOS
Overview
A global configuration file lets you preconfigure a new OpenVPN Connect installation with one file. Instead of asking users to configure settings or import connection details individually, you can provide an .ocfg file that OpenVPN Connect applies on the device.
This is especially useful when you're deploying OpenVPN Connect across multiple devices with a mobile device management (MDM) solution.
What you can configure
With a global configuration file, you can:
Configure OpenVPN Connect settings.
Add up to ten proxies.
Import up to ten connection profiles.
Prepopulate a server URL or CloudID for Import from URL.
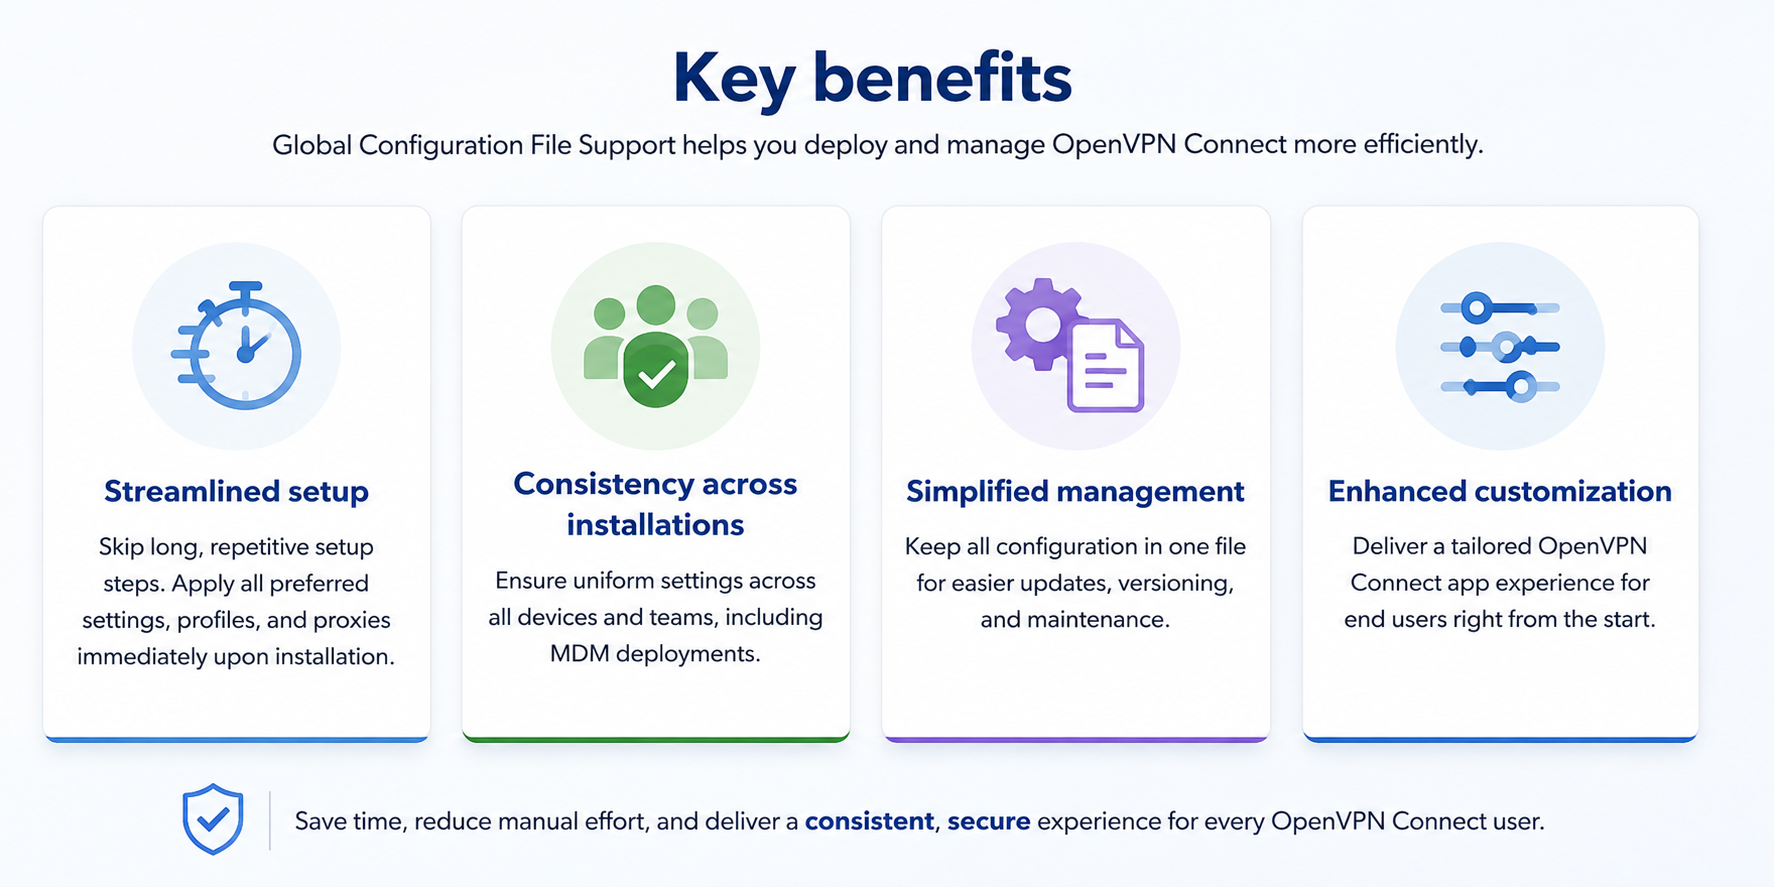
Using the same file across devices helps keep OpenVPN Connect configurations consistent and reduces manual setup for users.
Apply a Global Config
Here are the simple steps to apply Global Config:
Create the .PLIST file, formatted according to the schema.
Apply it on the user device using the preferred MDM tools.
Global configuration file requirements
The configuration file must:
Use a PLIST for the app config.
Use valid XML.
Conform to ios_connect_app_config_mdm_xsd_schema.xsd.
Main Sections:
The core configuration file contains three main sections:
Settings: Define application-wide settings.
Proxies: Preconfigure up to ten proxies.
Profiles: Import up to ten connection profiles.
Required field
You need to define the modifiedWhen key. This value should change whenever you push a new config, so OpenVPN Connect recognizes and applies updates.
<key>modifiedWhen</key>
<string>2025-12-30T13:10:49</string>
Configure settings
Use the settings object to define OpenVPN Connect settings:
The following settings are supported:
Setting | Values | Description |
|---|---|---|
vpn-protocol |
| Sets the preferred VPN protocol. |
timeout |
| Sets the connection timeout in seconds. |
battery-saver-ios |
| Prevents the app from reconnecting when the device is locked and the screen isn't active. |
connect-via |
| Set the network type used for the connection. |
captive-portal-detection |
| Tries to detect captive portals during network change and application launch. |
theme |
| Sets the app appearance. |
confirmation-dialogs |
| Configures when confirmation dialogs appear. |
security-level |
| Sets the security level for VPN connections. |
allowUnusedAddrFamilies |
| Configures whether IPv6 traffic is blocked. |
google-dns-fallback |
| Enables or disables fallback to Google DNS when the primary DNS is unavailable. |
use-system-browser |
| Set whether to use the system browser for web authentication. |
l2-reachability |
| Enable a more robust network reachability set when transitioning between Wi-Fi and cellular network. |
enforce-tls-1-3 |
| Requires TLS 1.3 for connections when the server supports it. |
seamless-tunnel |
| Keeps the VPN tunnel active during network changes so traffic stays protected while the connection re-establishes. |
<key>settings</key>
    <dict>
        <key>vpn-protocol</key>
        <string>adaptive</string>
        <key>timeout</key>
        <string>30</string>
        <key>battery-saver</key>
        <true/>
        <key>connect-via</key>
        <string>cellular</string>
        <key>captive-portal-detection</key>
        <false/>
        <key>confirmation-dialogs</key>
        <string>on-reconnect</string>
        <key>theme</key>
        <string>system</string>
        <key>security-level</key>
        <string>preferred</string>
        <key>allowUnusedAddrFamilies</key>
        <string>no</string>
        <key>google-dns-fallback</key>
        <true/>
        <key>use-system-browser</key>
        <false/>
        <key>l2-reachability</key>
        <false/>
</dict>Configure proxies
You can predefine up to ten proxies in the global configuration file.
<key>proxies</key>
    <array>
        <dict>
            <key>proxy_name</key>
            <string>Office Proxy</string>
            <key>proxy_host</key>
            <string>proxy.company.ua</string>
            <key>proxy_port</key>
            <integer>8080</integer>
            <key>proxy_username</key>
            <string>user123</string>
            <key>proxy_password</key>
            <string>pass123</string>
            <key>basic_auth</key>
            <false/>
        </dict>
        <dict>
            <key>proxy_name</key>
            <string>Home Proxy</string>
            <key>proxy_host</key>
            <string>192.168.1.100</string>
            <key>proxy_port</key>
            <integer>3128</integer>
        </dict>
    </array>
The global configuration file creates the proxy definitions, but it doesn't assign a proxy to a connection profile. Assign the proxy to the appropriate profile in OpenVPN Connect after import.
Import connection profiles
You can import up to ten connection profiles. Use either profile_body or profile_path for each profile.
Method 1: Use profile_body — Place the full profile content within the
"profile_body"attribute:<key>profiles</key> <array> <dict> <key>profile_name</key> <string>Second Profile</string> <key>profile_body</key> <string>...</string> </dict> </array>Method 2: Use profile_path — Specify the direct download link (for network import) within the
"profile_path"attribute:<key>profiles</key> <array> <dict> <key>profile_name</key> <string>My VPN Profile</string> <key>profile_path</key> <string>https://domain.ua/to/profile.ovpn</string> </dict> </array>
User restrictions
Use user_restrictions to prevent end users from modifying managed OpenVPN Connect settings or removing imported profiles.
When all is set to true, in-app settings can no longer be changed by the end user, and profiles imported through the global configuration can't be removed from the app.
<key>user_restrictions</key>
<dict>
    <key>all</key>
    <true/>
</dict>
Kill switch
Use kill_switch to prevent the VPN connection from being disabled by the end user for a managed profile.
The kill_switch key needs to be defined inside the relevant profile object under the profiles key.
<key>profiles</key>
<array>
    <dict>
        <key>profile_name</key>
        <string>body_auto1</string>
        <key>profile_path</key>
        <string>https://domain.net/path/to/profile.ovpn</string>
        <key>kill_switch</key>
        <true/>
    </dict>
</array>Example config file for iOS
Here is an example of a typical config for iOS:
<dict>
    <key>modifiedWhen</key>
    <string>2025-12-30T13:10:49</string>

    <key>user_restrictions</key>
    <dict>
        <key>all</key>
        <false/>
    </dict>

    <key>profiles</key>
    <array>
        <dict>
            <key>profile_name</key>
            <string>test_profile</string>
            <key>profile_path</key>
            <string>https://domain.net/path/to/profile.ovpn</string>
            <key>kill_switch</key>
            <false/>
        </dict>
    </array>

    <key>proxies</key>
    <array>
        <dict>
            <key>proxy_name</key>
            <string>test</string>
            <key>proxy_host</key>
            <string>192.168.77.88</string>
            <key>proxy_port</key>
            <integer>808</integer>
        </dict>
    </array>

    <key>settings</key>
    <dict>
        <key>vpn-protocol</key>
        <string>tcp</string>
        <key>timeout</key>
        <string>120</string>
        <key>battery-saver-ios</key>
        <true/>
        <key>seamless-tunnel</key>
        <true/>
        <key>connect-via</key>
        <string>wifi</string>
        <key>captive-portal-detection</key>
        <false/>
        <key>confirmation-dialogs</key>
        <string>on-reconnect</string>
        <key>theme</key>
        <string>light</string>
        <key>security-level</key>
        <string>preferred</string>
        <key>enforce-tls-1-3</key>
        <true/>
        <key>allowUnusedAddrFamilies</key>
        <string>yes</string>
        <key>google-dns-fallback</key>
        <false/>
        <key>l2-reachability</key>
        <false/>
        <key>use-system-browser</key>
        <true/>
    </dict>
</dict>Importing global config
Jamf Pro (AppConfig)
Create a new mobile device policy in your MDM.
Assign the App Store version of OpenVPN Connect (
net.openvpn.connect.app).Add your PLIST under the App Configuration tab.
Scope the policy to the intended devices.
Microsoft Intune
In the Microsoft Intune admin panel, navigate to Apps > iOS/iPadOS apps and click Create.
Select iOS Store App and search for OpenVPN Connect in the App Store.
Assign it to the relevant user group.
Click Apps > iOS/iPad OS > Configuration Policies and click Create.
During policy creation:
Select OpenVPN Connect as the app.
Under the Settings tab, choose Enter XML data for the configuration settings format.
Paste your PLIST configuration in the XML field.
Assign the configuration policy to the relevant user group.
Review and create the configuration policy.