Import CloudConnexa Connection Profile
The two ways to import the connection profile are mentioned here.
There are two ways to import the CloudConnexa Connection Profile into OpenVPN Connect:
Import the profile using a URL. Refer to Import CloudConnexa Connection Profile Using Cloud ID.
Import the profile using a .ovpn file. Refer to Import CloudConnexa Connection Profile From a File.
You need to know two things for you to retrieve the Connection Profile to connect to CloudConnexa:
The Cloud ID of the Wide-Area Private Cloud (WPC) you want to connect to. It is of the form [company].openvpn.com or https://[company].openvpn.com
The username and temporary password or your Single Sign On (SSO) credentials if your IT Administrator has asked you to log in with it.
You would have received an email from CloudConnexa if you were added as a User with an email address. This email will contain your username and password. An example email is shown below:

The email includes links to download OpenVPN Connect for your device's operating system and detailed step-by-step instructions for importing the Connection Profile.
Here are the steps to import a CloudConnexa Profile using the Cloud ID:
Launch OpenVPN Connect. If you don't have one, get it from Get OpenVPN Connect.
Note
Always keep your Connect Application updated. The minimum required versions are:
Windows - v3.3.5
macOS - v3.3.4
iOS - v3.3.0
Android - v3.2.7
Click My Profiles.
Click the Add icon.
Enter your Cloud ID and click Next.
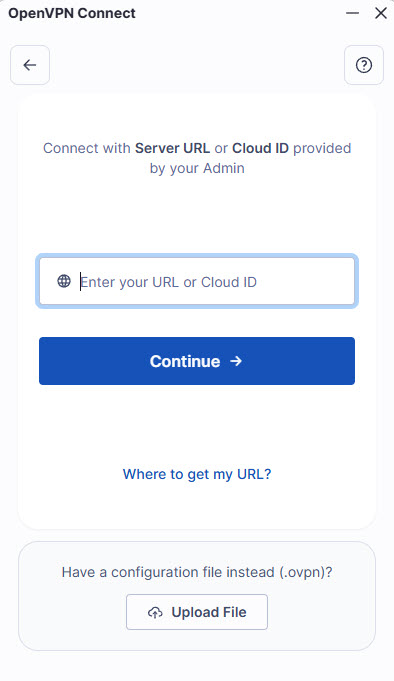
You will be prompted to complete authentication in your web browser.
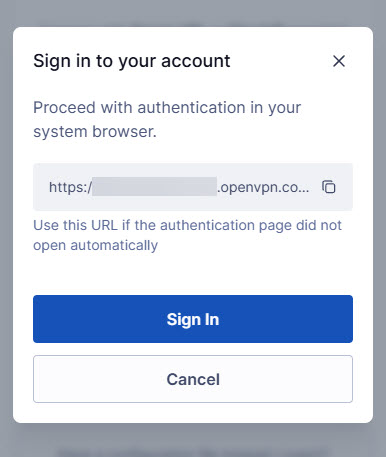
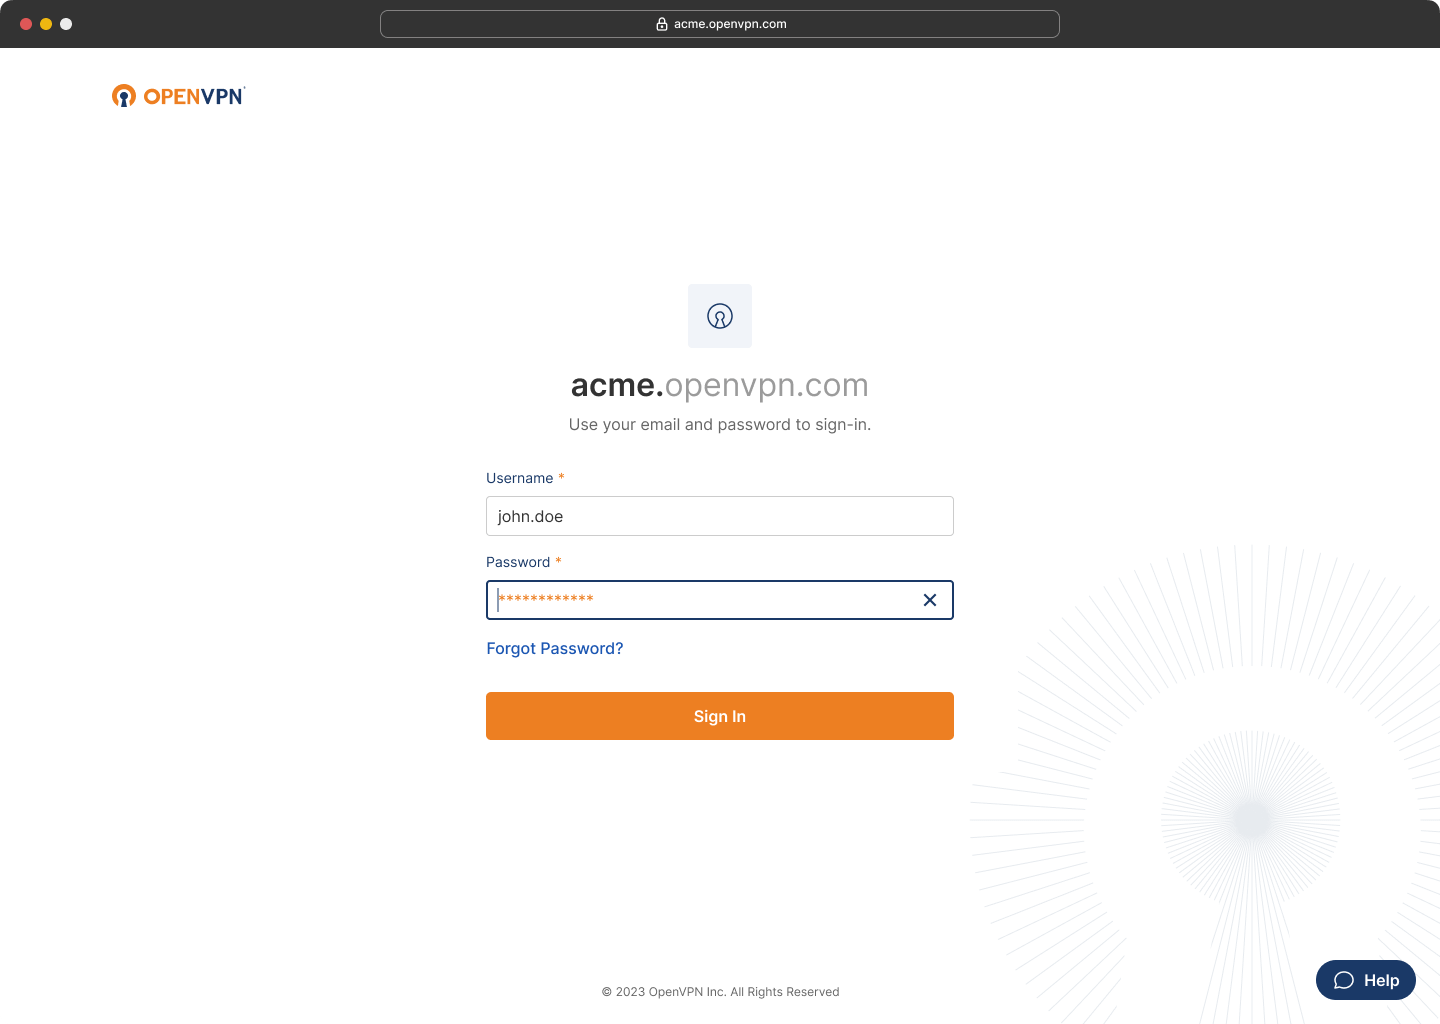
Use your SSO credential if you see your SSO authentication prompt in the web browser. Otherwise, enter the username and password. Click Sign In.
Note
If this is your first time signing in, enter your username and temporary password and click Sign In. You will be asked to set a new password on the next page. Refer to Authenticating with a temporary password
You may be prompted to enter a 2FA code using an Authenticator application. Enter the code and click Confirm. Refer to Authenticating with 2FA
Note
If this is your first time signing in, set your Authenticator application and authenticate with the 2FA code. Refer to Configuring Authenticator App for 2FA
Select a Region that is closest to you and click Continue.
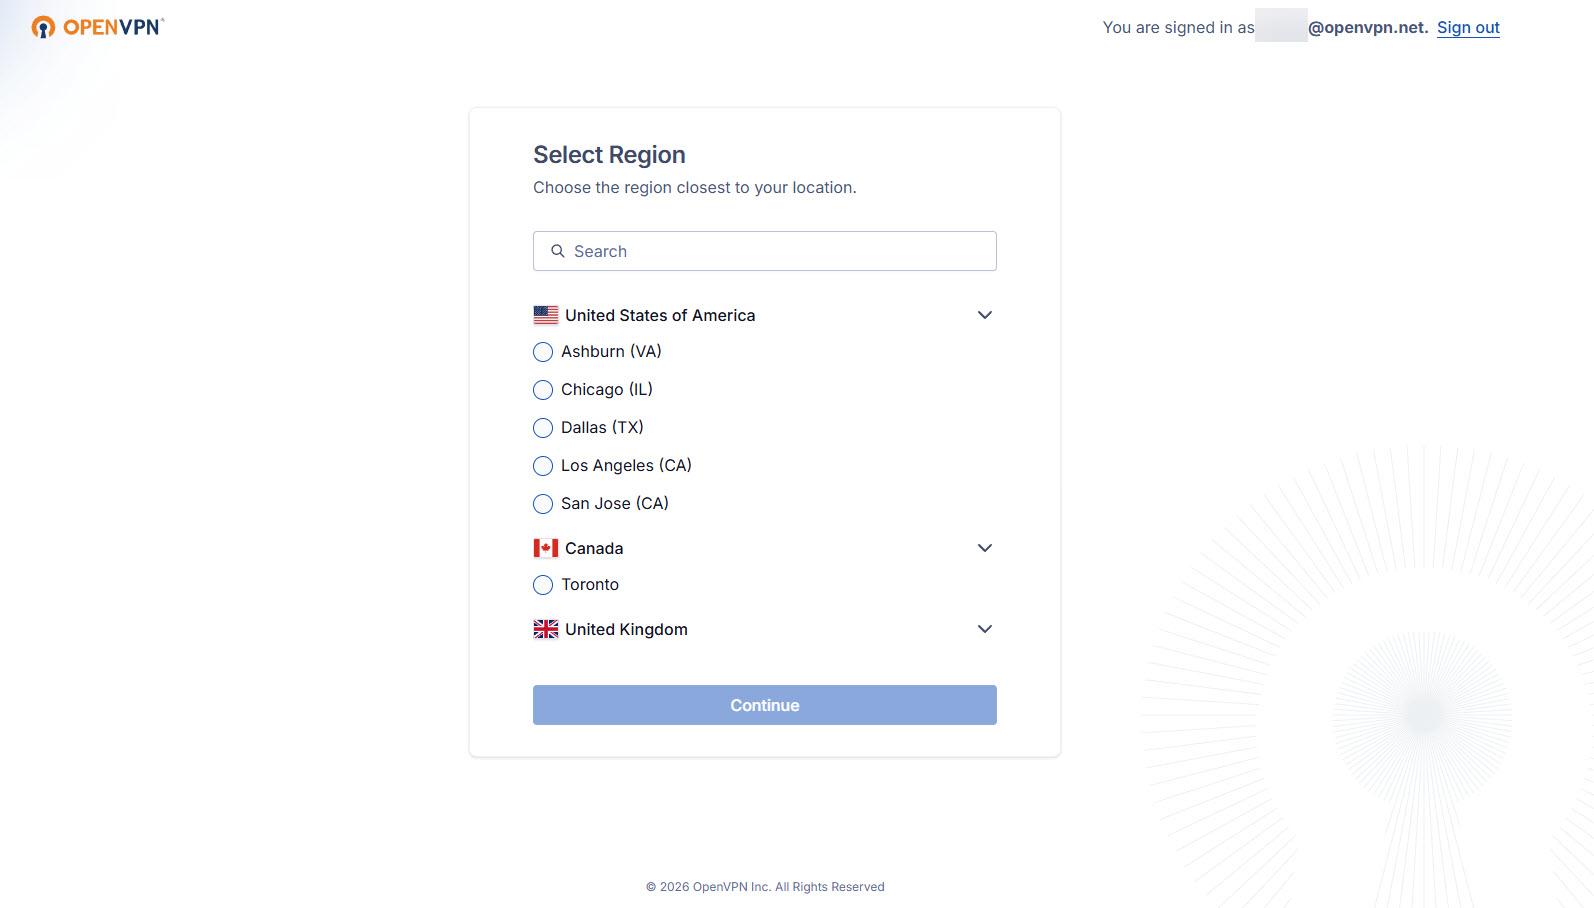
Your browser may prompt you to allow OpenVPN Connect to open the link. Select Open Link
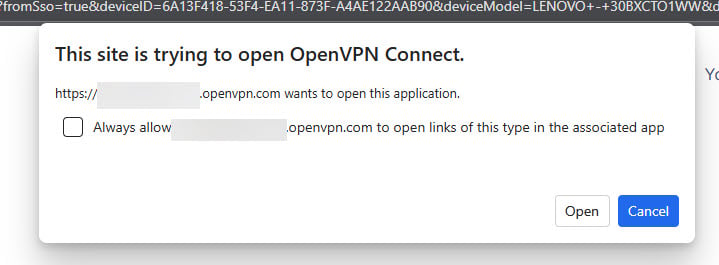
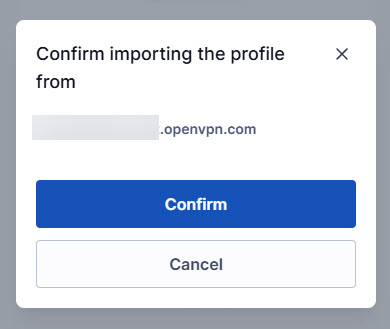
OpenVPN Connect will then prompt you to confirm the import. Click Confirm.
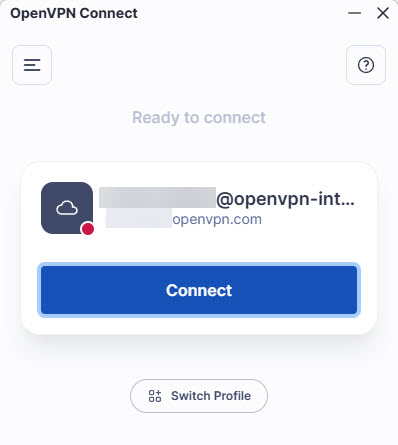
You will now see the imported profile listed.
Errors in Importing Connection Profile
There may be reasons you can't successfully import a connection profile. These could be because of the following reasons:
Your IT department has restricted everyone from importing profiles because they have another means of distributing the connection profile.
You have exceeded the number of devices you can use as per the limit set per user by your IT department.
The device you are importing the connection profile to is not authorized.
Your CloudConnexa Connection Profile could be distributed to you as a .ovpn file. For Linux, refer to OpenVPN 3 client commands.
Follow the steps below to import a .ovpn file OpenVPN Connect:
Launch OpenVPN Connect. If you don't have one, get it from Get OpenVPN Connect.
Click My Profiles.
Click the Add icon.
Drag and drop the .ovpn file or click Upload File.

Click Import to confirm.
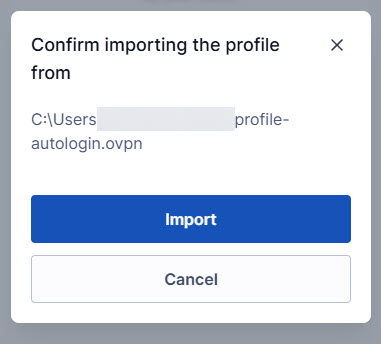
The OpenVPN Profile will show up in the Profiles list.
