Tutorial: Secure DNS Traffic and Use DNS-based Content Filtering
Overview
This guide shows you how to set up CloudConnexa DNS security and the DNS-based content filtering provided by Cyber Shield.
In this document we examine a WPC set up that is configured to meet the needs of a fictitious company. A startup has headquarters based in California, with virtual sales offices across the US and in Europe. Their sales team often visits or travels to and from customer sites, accessing the internet from public Networks like those provided in hotels, cafés, and airports. The sales team relies on SaaS tools like Google Workspace and Salesforce.
In our example company, Owen is in charge of IT and networking. He is aware of the security risks with DNS on public internet sites and is looking for a solution that doesn’t require him to directly manage, install, and maintain servers.
Owen is also aware that two of the benefits of using CloudConnexa are DNS security and DNS-based content filtering. For more details on DNS security with CloudConnexa, refer to this page. Owen wants to use DNS-based content filtering to block access to malicious websites that spread malware.
During the CloudConnexa signup process (as shown here) Owen sets technop as the Cloud ID for his WPC. This subdomain uniquely identifies Owen’s company WPC as technop.openvpn.com. Subsequently, each WPC User must use the https://technop.openvpn.com/ URL to import the WPC connection Profile in their Connect client, which then allows connections to the http://technop.openvpn.com/ WPC.
Set up
Owen follows these steps to verify the protection of DNS traffic and configure content filtering:
On connection, Owen checks that the DNS servers assigned to his computer are from the 100.96.0.0/11 IP address range. This assures him that his Device is bypassing the DNS servers on his local Network and is sending DNS traffic through the WPC tunnel to the CloudConnexa DNS servers. The actual internet traffic continues to use the local Network and not the WPC.
To make this check, Owen uses the nslookup command:
nslookup openvpn.net
Owen navigates to the Cyber Shield section of the CloudConnexa Administration portal and toggles the Domain Filtering > Monitoring switch to On.He then clicks the edit (pencil) icon to see a list of domain filter categories and selects the Malware and Hacking categories. For more details, refer to: Configuring Cyber Shield Domain Filtering
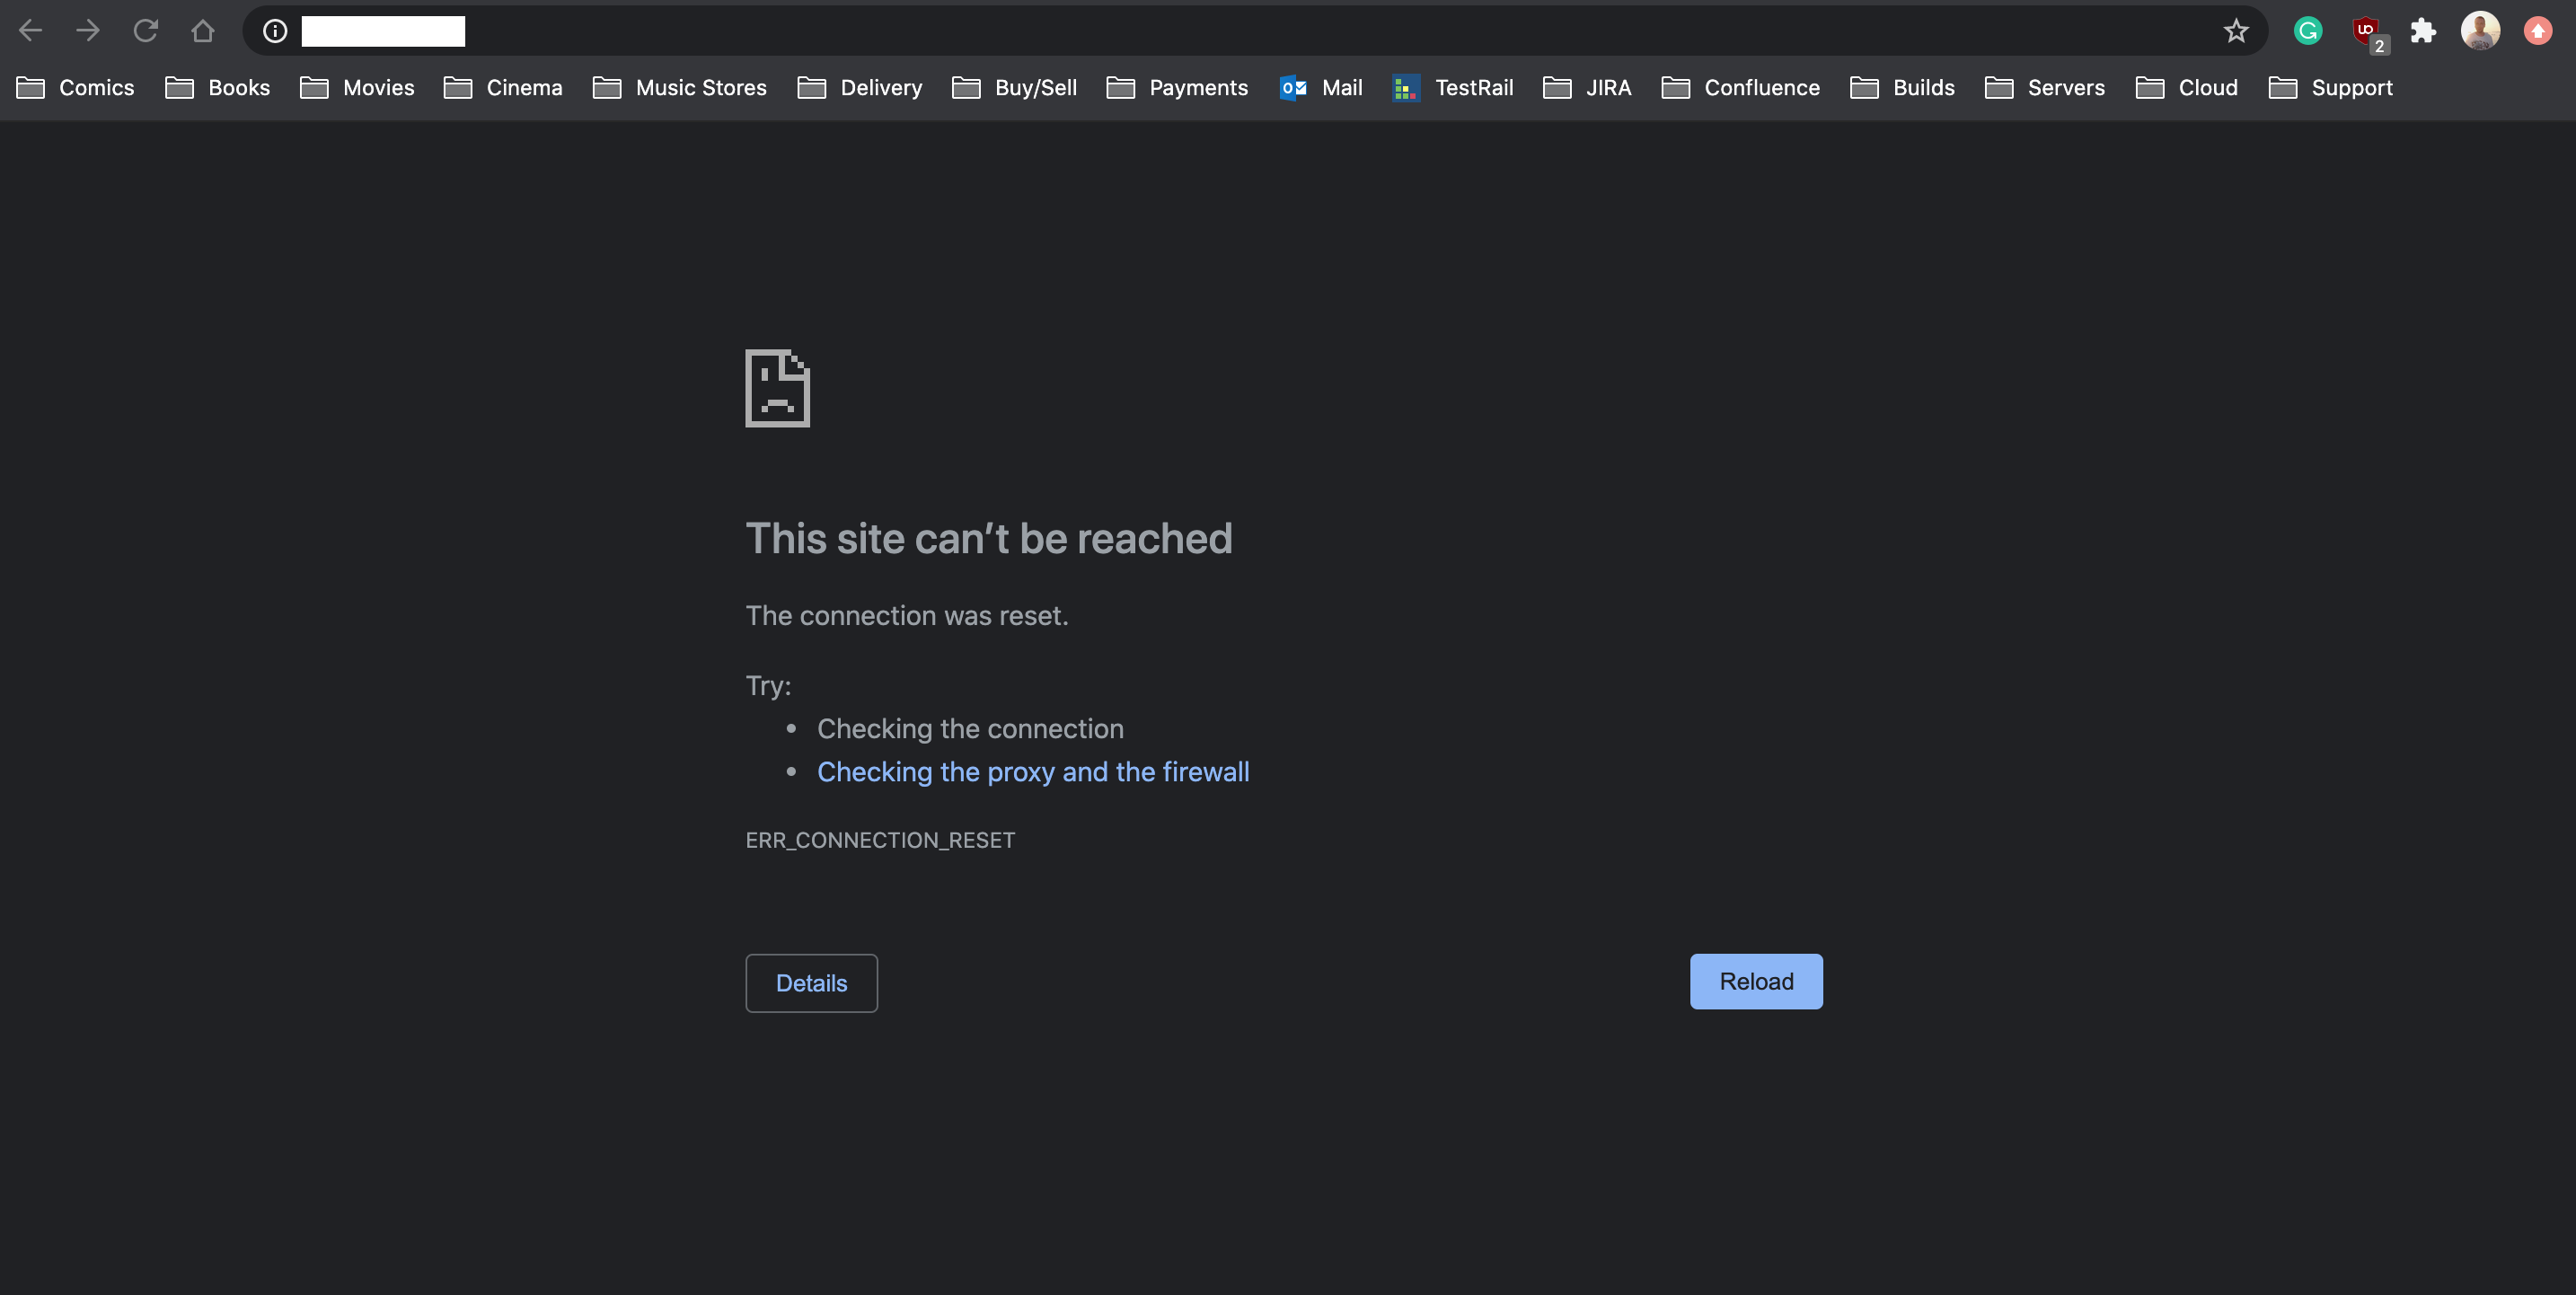
Owen then opens a web browser and enters http://malware-test-domain.openvpn.com/ into the address bar. The request is blocked by CloudConnexa’s DNS servers because the domain has been categorized as malware. Instead of seeing the site’s content, the error “This site can’t be reached” is displayed.
Confident that the set up is correct, Owen uses email addresses to add his company’s employees as Users. For more details, refer to: Adding a User.