Tutorial: Use the Linux OpenVPN 3 Connector integrated with Cockpit
We have extended Cockpit with an add-on to provide a web-based graphical frontend to the Linux OpenVPN 3 client that acts as the CloudConnexa Connector
Cockpit is a web-based graphical interface for servers that facilitates system administration. It lets you see your Linux server in a web browser and perform system tasks with a mouse.
We have extended Cockpit with an add-on to provide a web-based graphical frontend to the Linux OpenVPN 3 client that acts as the CloudConnexa Connector. Refer toGitHub.
Installation
On some IaaS Marketplaces, there are CloudConnexa Connector listings that have a readymade image to use to spin up an instance. For example, Google Cloud Platform.
Or, you can install it manually on a Linux computer using the instructions shown on GitHub.
Import Profile and Connect
Open your web browser to
https://IP_ADDRESS_OF_MACHINE:9090and login with the username and password of any local account on the system.Click OpenVPN Connector from the Navigation.
From the CloudConnexa Administration Portal, click Copy .ovpn Profile Token from the Deploy drop-down menu for the Host or Network Connector that will be deployed on this Linux machine.
Paste the token in the Cockpit Token field.
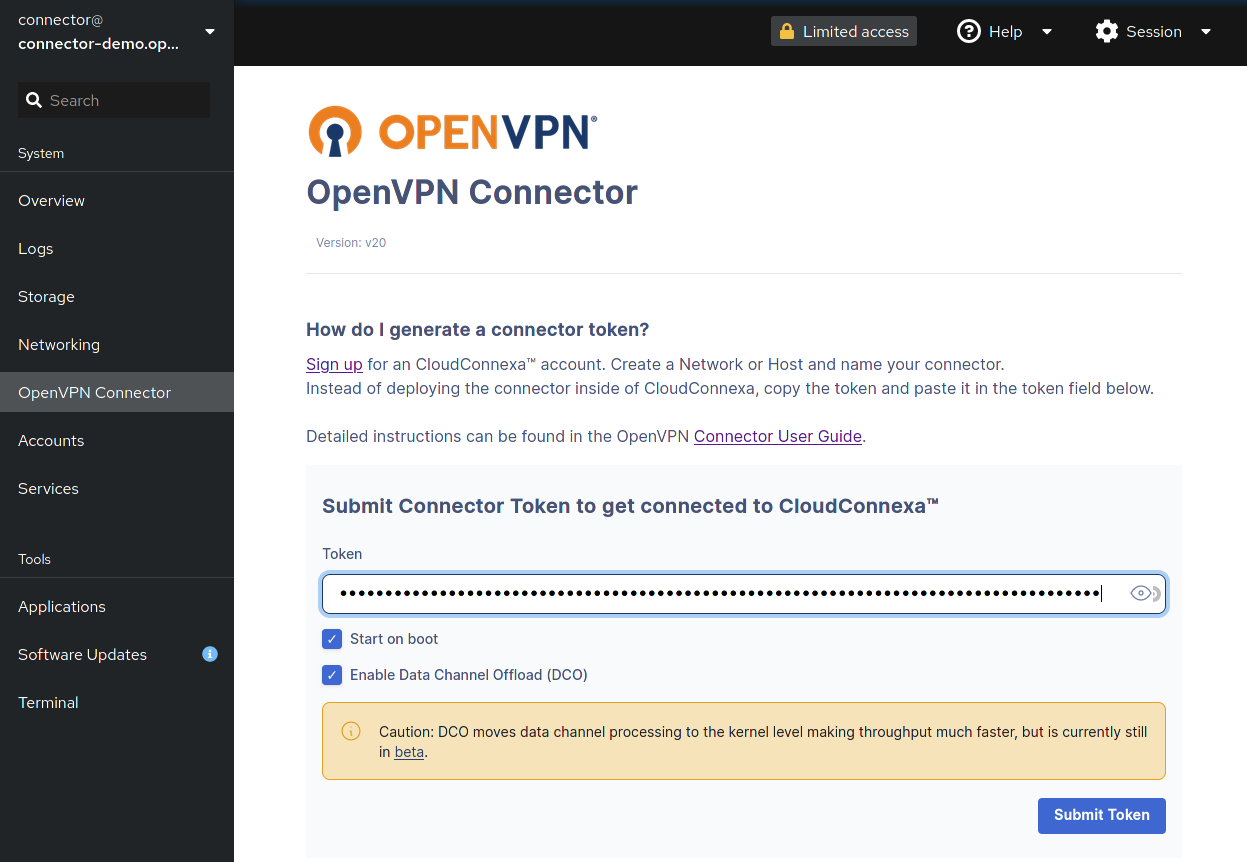
When checked, Enable Data Channel Offload (DCO) improves Connector performance by moving the data channel process to the kernel.
Click Submit Token.
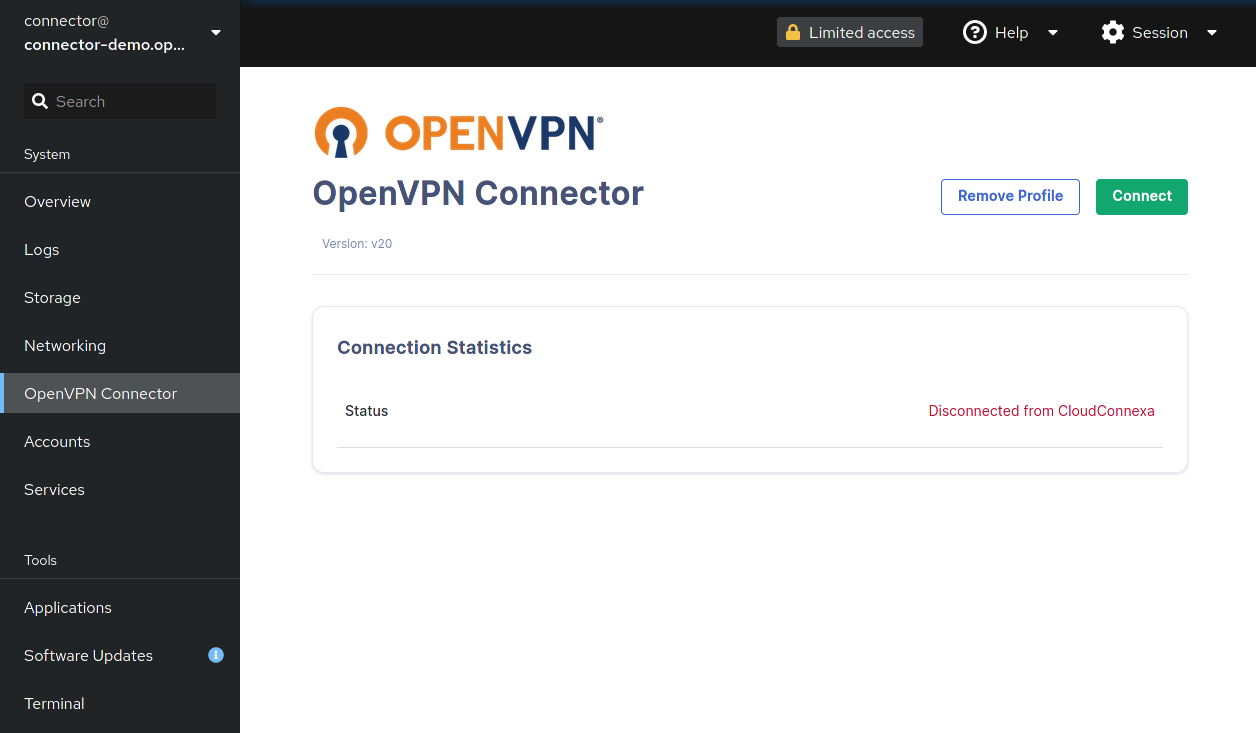
Click Connect.
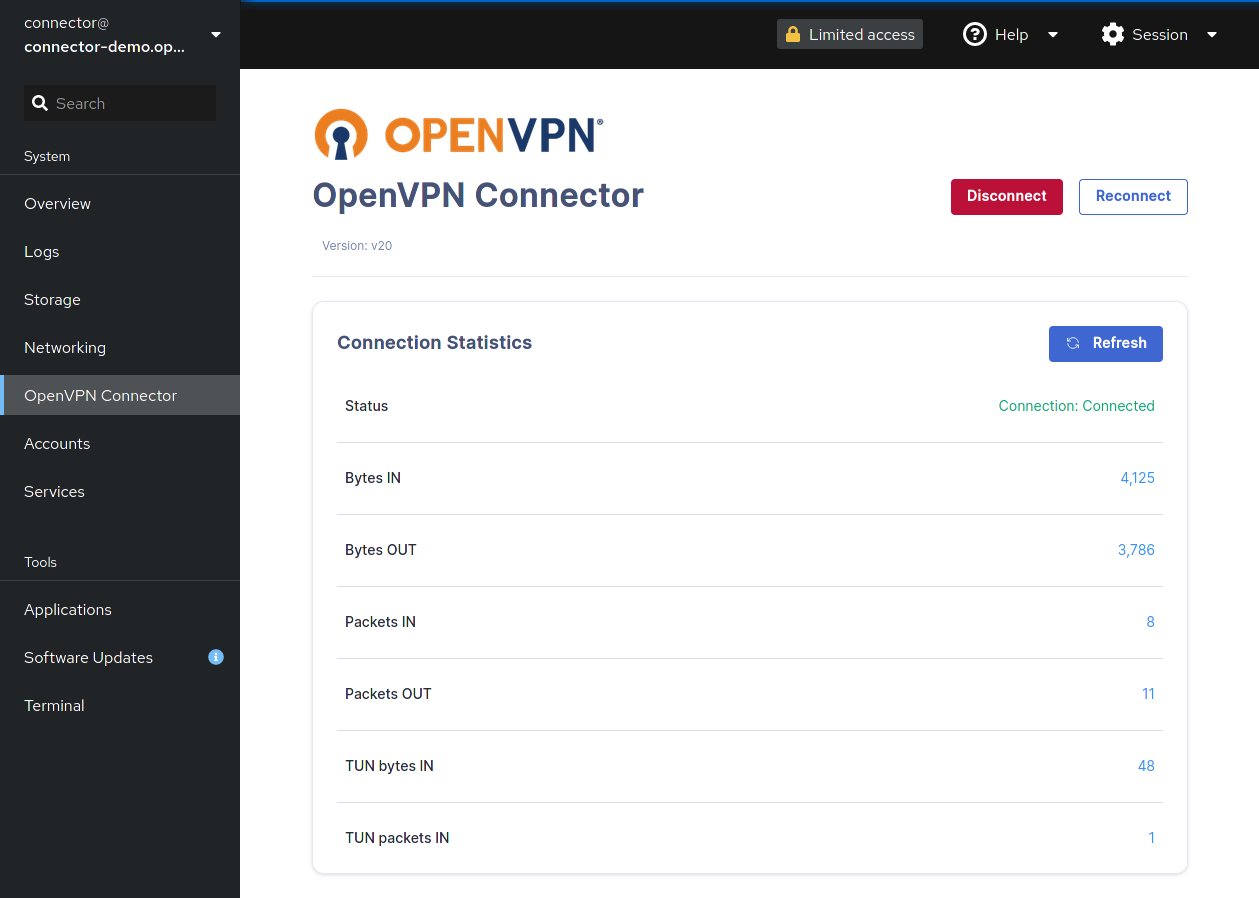
Connection Statistics
On successful connection, the connection statistics will be shown.
Connection Statistics | Definition |
|---|---|
Bytes IN | encrypted bytes since the session started received outside the OpenVPN tunnel by the client from the server |
Bytes OUT | encrypted bytes since the session started sent outside the OpenVPN tunnel by the client to the server |
Packets IN | encrypted packets since the session started received outside the OpenVPN tunnel by the client from the server |
Packets OUT | encrypted packets since the session started sent outside the OpenVPN tunnel from the client to the server |
TUN bytes IN | unencrypted bytes since the session started received within the OpenVPN tunnel by all hosts connected to the same WPC |
TUN packets IN | unencrypted bytes since the session started sent within the OpenVPN tunnel by all hosts connected to the same WPC |
The statistics page also has action buttons:
Button | Action |
|---|---|
 | Refreshes current session |
 | Disconnects current session NoteTo restart the Connector session, you must regenerate a Connector profile token. |
 | Reconnects session NoteUsed in case of timeout or other issues during the current session. Reconnects with current profile token. |
Remove Profile
Disconnect the session if ongoing.
Click Remove Profile.
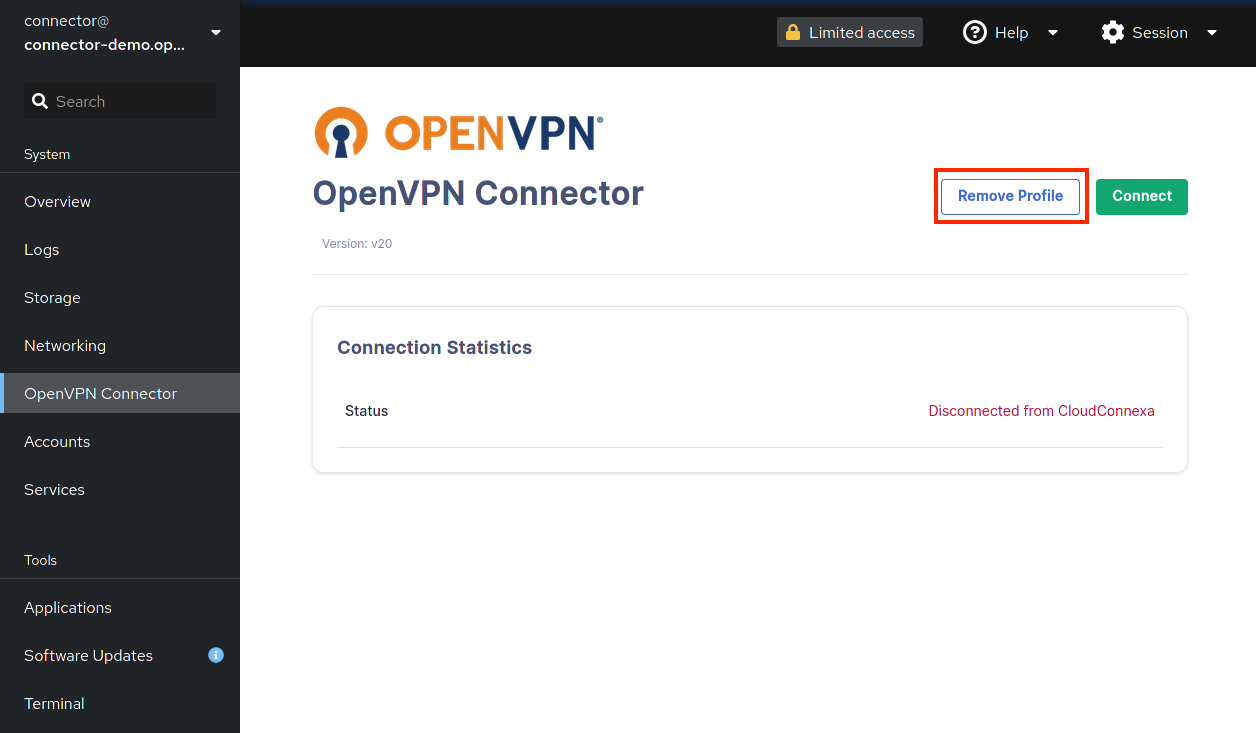
In the confirmation dialog, click Delete Profile.