Tutorial: Configure a Ubiquiti (EdgeMAX) Router to Connect to CloudConnexa
Step-by-step instructions for configuring a Ubiquiti EdgeMAX router to connect to CloudConnexa as a Network Connector using an OpenVPN profile.
Introduction
This tutorial explains how to configure a Ubiquiti EdgeMAX router as a CloudConnexa Network Connector. After completing these steps, devices and subnets behind the router can securely communicate with resources in your CloudConnexa private network (WPC) without requiring VPN client software on individual devices.
You will:
Download a Network Connector connection profile from CloudConnexa.
Configure the profile on the EdgeMAX router using SSH and the EdgeMAX CLI.
Route traffic between your local network and your CloudConnexa WPC.
This setup is useful for connecting branch offices, lab environments, or remote networks to CloudConnexa through a site-to-site style deployment.
Note
Your router needs to be running EdgeRouter X v2.0 or newer.
Before you begin
You have a CloudConnexa account and can sign in to the Administration portal.
You have SCP access to the router from your local computer.
You have SSH access to the router.
Step 1: Create a Network in CloudConnexa
Navigate to Networks → Networks.
Select Add Network.
Select at least one Network Scenario, and select Continue. Refer to Add a Network for details.
Enter a Network name and optional description.
Leave the Connector Tunneling Protocol set to the default (OpenVPN).
Under Connector, enter a name, an optional description, and select a region.
Select Next.
Step 2: Deploy the Connector and download a connection profile
In the Deploy Network Connector step:
Select Ubiquiti from the Provider Type drop-down menu.
Select Download OVPN Profile to download the connection profile to your local computer.
Select Next.
CloudConnexa displays the Connector status. The Connector will show as Offline until the router is configured and connects in the following steps.
Step 3: Configure routing
Review the allocated WPC Subnets, Domain Routing Subnets, and routes of other connected networks displayed by CloudConnexa. Note any values you will need when configuring static routes on your router.
Optionally, you can add applications or IP services in the next wizard configuration steps.
Select Finish.
Step 4: Copy the connection profile to the router
Step 5: Create the OpenVPN interface
Connect to the router via SSH:
ssh admin@<router_ip_address>
Enter configuration mode:
configure
Create a new OpenVPN tunnel interface pointing to the connection profile:
set interfaces openvpn vtun0 config-file /config/auth/Profile.ovpn
set interfaces openvpn vtun0 description "CloudConnexa Connector"
Commit and save your changes, then exit configuration mode:
commit
save
exit
Note
The OpenVPN tunnel interface name must follow the format
vtun<num>(for example,vtun0). ReplaceProfile.ovpnwith the actual filename of your downloaded connection profile.
Step 6: Verify the connection
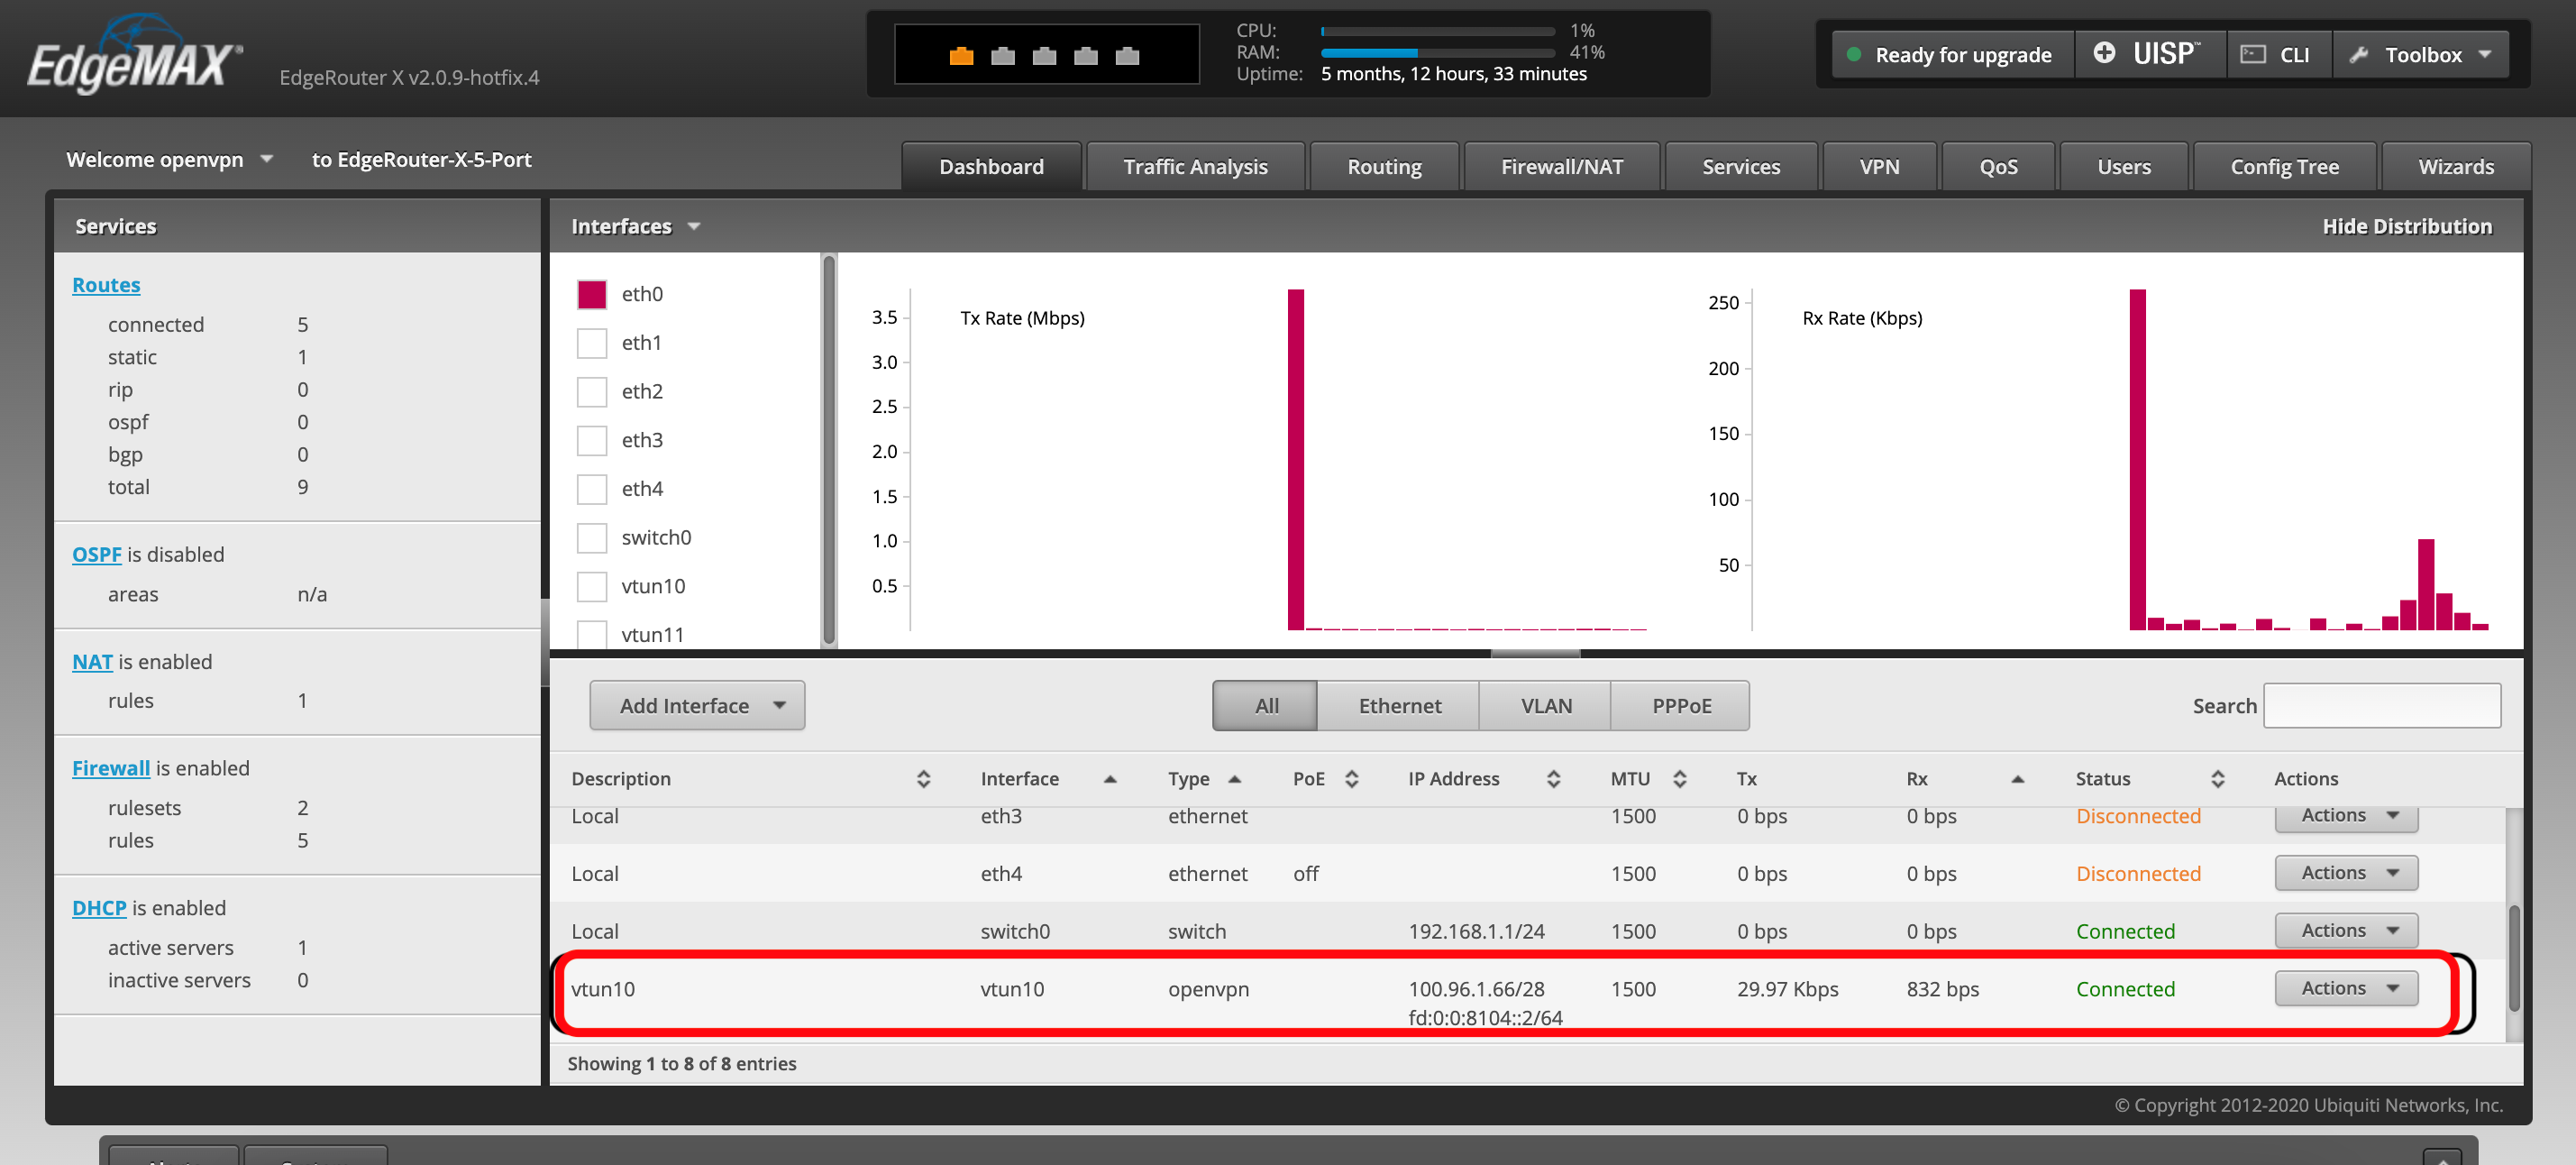
Connect to the router through HTTPS.
Navigate to the Dashboard tab.
Confirm that your newly created interface exists with:
Interface type:
openvpnStatus: Connected
An assigned IP address
In the CloudConnexa Administration portal, navigate to Networks → Connectors and confirm the Connector status is Connected.