Tutorial: Configure a Teltonika Router To Connect to CloudConnexa
This tutorial contains instructions on how to use a Teltonika router and configure it to use a Connector profile to connect to CloudConnexa and make the network part of your WPC.
Introduction
You can configure a Teltonika-compatible router for Network Connector deployment. You must use specific sections from the OpenVPN Connector Profile and apply them to the associated router settings.
Downloading the Connector profile
Sign in to the CloudConnexa Administration portal at https://cloud.openvpn.com.
Navigate to Networks.
Select Networks.
Click the name of the router Network.
Click the Connectors tab.
Click the Deploy drop-down menu of the Connector you wish to modify.
Select Deploy Connector.
Click Provider Type drop-down menu.
Select Teltonika.
Click Download OVPN Profile.
Alternatively, you may download the profile by clicking the Network name, and the edit icon for the Network.
Or from the Connectors menu.
Configuring the Teltonika router
Sign in to the Teltonika router UI.
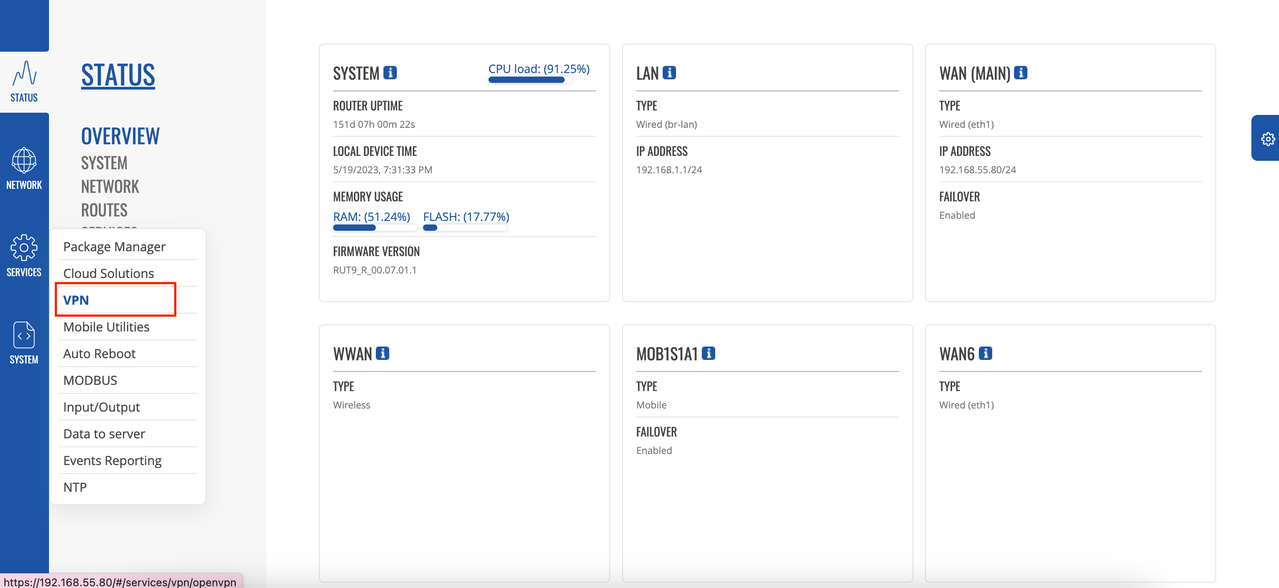
Access Services > VPN
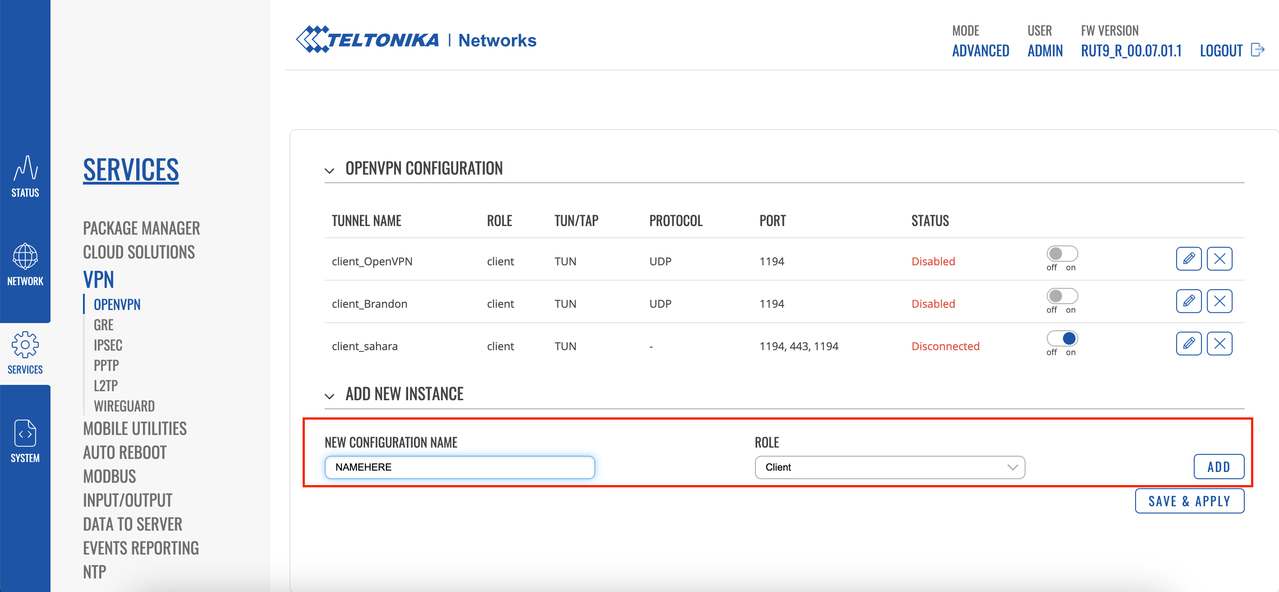
Click to select Client as the Role, add a name, and click Add New.
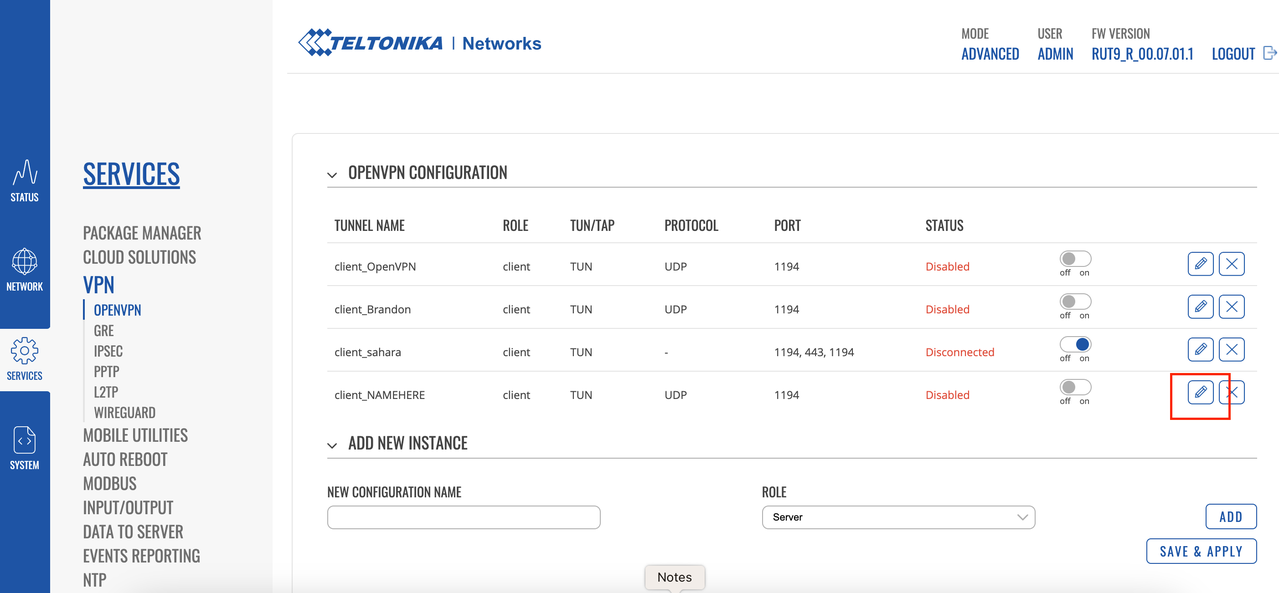
Click Edit for the newly created Profile.
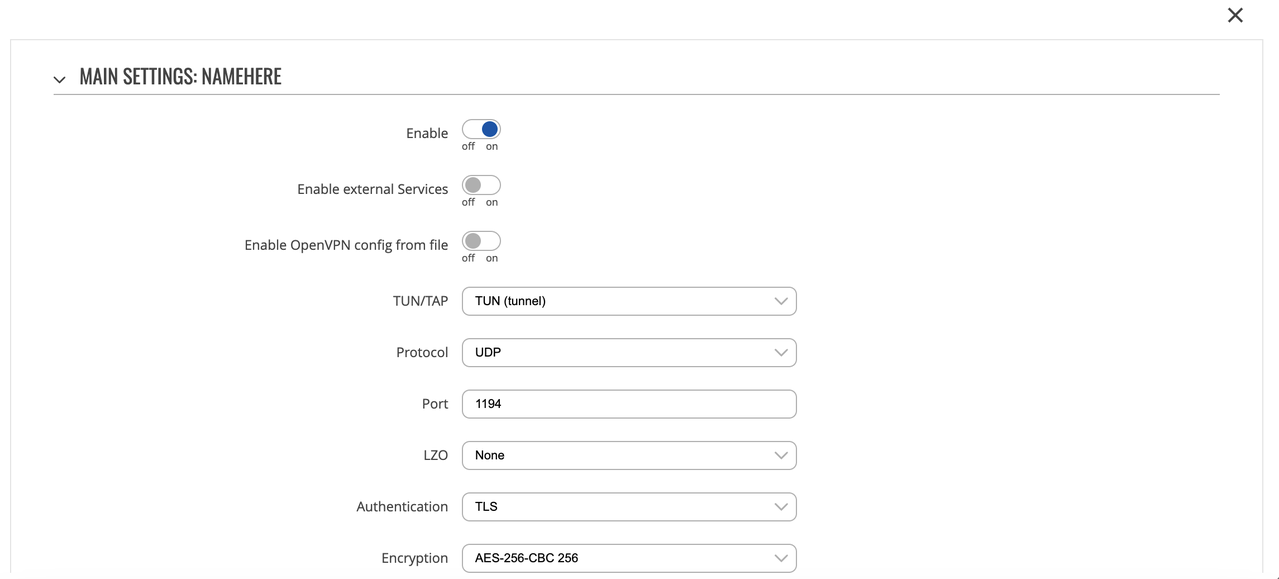
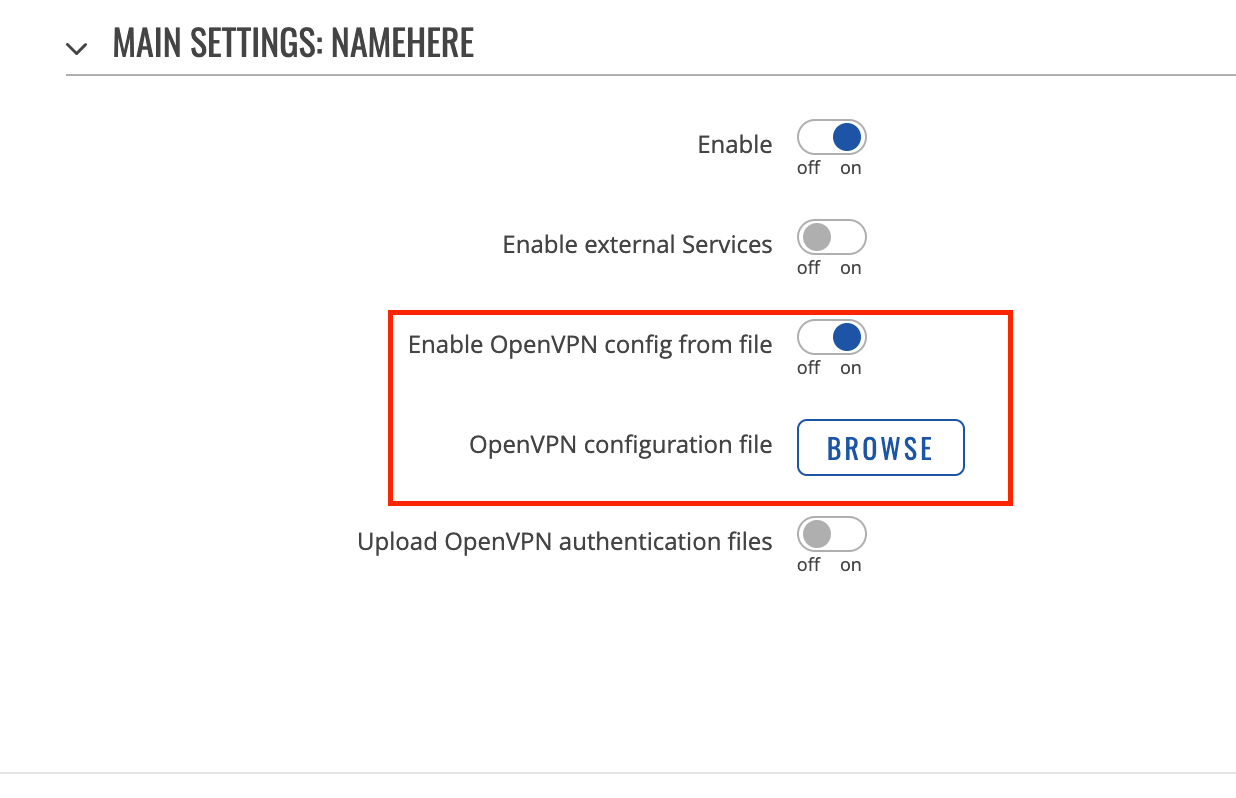
Set these parameters on the Main Settings screen.
Parameter
Value
Enable OpenVPN config from file
Disable
Enable
Enable
TUN/TAP
TUN(Tunnel)
Protocol
UDP
Port
1194
LZO
Disable
Authentication
TLS
Encryption
AES-256-CBC-256
TLS cipher
All
Remote Host/IP address
Open the
.ovpnProfile in a text editor, and copy and paste the Host address.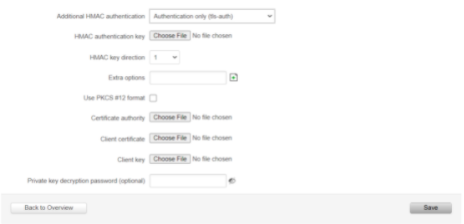
Resolve retry
Infinite
Keep alive
A helper directive designed to simplify the expression of –ping and –ping-restart. This option can be used on both the client and server side, but it is enough to add this on the server side because it will push appropriate –ping and –ping-restart options to the client. If used on both server and client, the values pushed from the server will override the client local values.
Remote Network IP address
Network IP Address
Remote Network IP netmask
Network subnet mask
HMAC authentication algorithm
SHA256
Additional HMAC authentication
Authentication only (tls-auth)
HMAC authentication key
1. In the
.ovpnProfile, copy the content between the<tls-auth> and </tls-auth> tags and paste them into a new file.2. Be sure that you include all of the --- BEGIN OpenVPN Static key V1--- and ---END OpenVPN Static key V1--- lines in the new file. There should be a total of two such lines.
3. When copying the contents into a new file, be sure to delete the starting <tls-auth> tag and the ending </tls-auth> tag.
4. Save the new file with a
.keyextension and upload it.HMAC key direction
1
Extra options
Not filed
Use PKCS #12 format
Disable
Certificate authority
1. In the
.ovpnProfile, copy the content between the <ca> and </ca> tags and paste them into a new file.2. Be sure that you include all of the ---BEGIN CERTIFICATE--- and ---END CERTIFICATE--- lines in the new file. There should be a total of four such lines.
3. When copying the contents into a new file, be sure to delete the starting <ca> tag and the ending </ca> tag.
4. Save the new file with a
.crtextension and upload it.Client certificate
1. In the
.ovpnProfile, copy the content between the <cert> and </cert> tags and paste them into a new file.2. Be sure that you include all of the ---BEGIN CERTIFICATE--- and ---END CERTIFICATE--- lines in the new file. There should be a total of two such lines.
3. When copying the contents into a new file, be sure to delete the starting <cert> tag and the ending </cert> tag.
4. Save the new file with a
.crtextension and upload it.Client key
1. In the .ovpn Profile, copy the content between the <key> and </key> tags and paste them into a new file.
2. Be sure that you include all of the ---BEGIN RSA PRIVATE KEY--- and ---END RSA PRIVATE KEY--- lines in the new file. There should be a total of two such lines.
3. When copying the contents into a new file, be sure to delete the starting <key> tag and the ending </key> tag.
4. Save the new file with a
.keyextension and upload it.Private key decryption password (optional)
Not required
Save your changes, and restart the WPC connection.
Navigate to Services > WPC and check that the configuration is enabled.
Navigate to Status > Network > OpenVPN and check that the status is Connected.