Tutorial: Connect Your Azure VNet to CloudConnexa by Deploying a Connector
This tutorial shows you the steps to take to deploy a Connector on your Azure VNet. Once deployed, the Connector attempts to establish an outbound OpenVPN tunnel to the configured CloudConnexa Region. On a successful connection, the Azure VNet can be accessed by your CloudConnexa Users.
Launch Connector On Azure
You can deploy a Connector in the Microsoft Azure environment during the Network creation process. You can choose to either launch a template directly in Azure, or download a template and launch it manually.
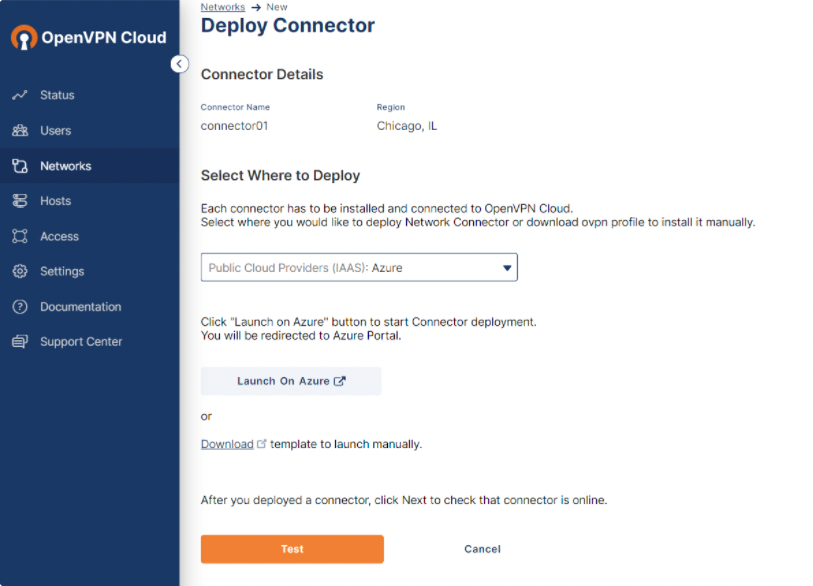
Steps: Launch a template directly on Azure
Click Launch On Azure.
You are redirected to your Azure environment, where a virtual machine (VM) is created automatically.
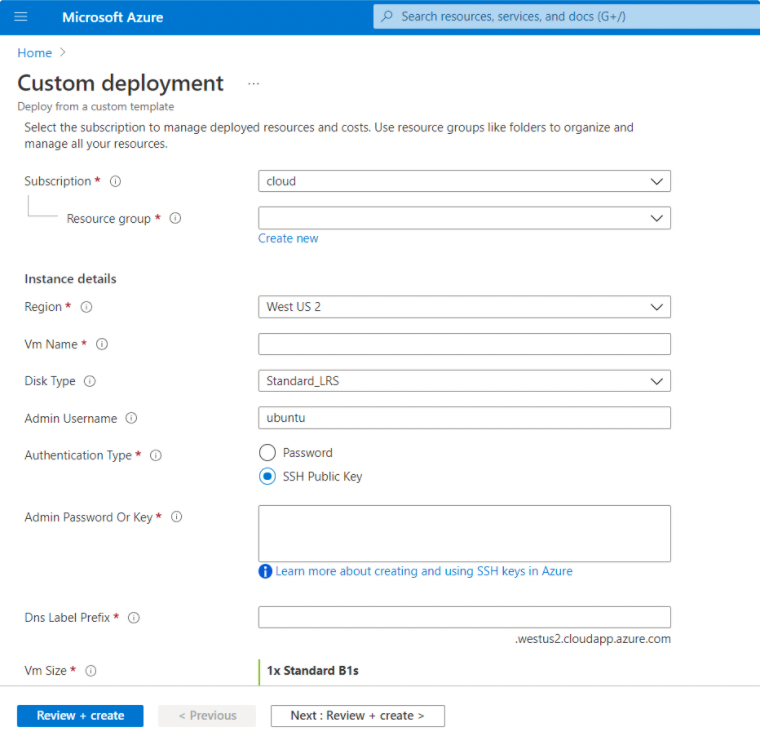
Define the parameters on the Azure VM, noting that the fields marked with an asterisk are mandatory.
Parameter
Value
Subscription
A logical container used to provision resources in Azure. It holds the details of all your resources such as VMs, databases, and more.
Resource Group
A container that holds related resources for an Azure solution. The resource group includes those resources that you want to manage as a group.
Region
The region value propagates from the resource group.
Disk Type
The type of storage to be used for your VM disks.
Admin Username
The Administrator username for the VM.
Authentication Type
The type of authentication to use on the VM. SSH key is strongly recommended.
Admin Password Or Key
The SSH key or password for the VM.
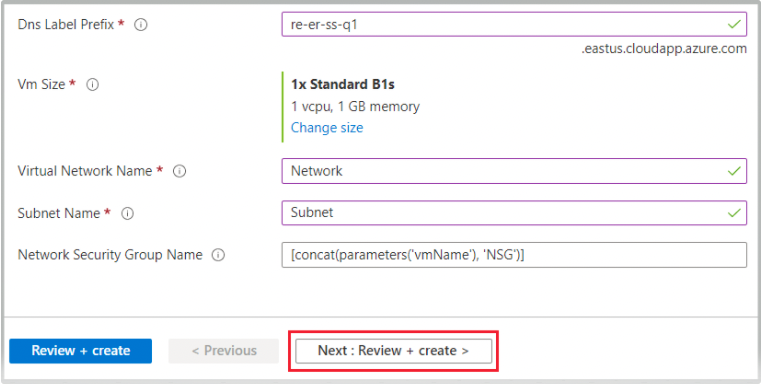
Dns Label Prefix
The unique DNS label prefix for the public IP that is used to access the VM.
Vm Size
The size of the VM.
Virtual Network Name
The name of the existing virtual Network (VNet). You can find the VNet name on the Virtual Networks page.
Subnet Name
The name of the existing subnet in the VNet you want to use. You can find the subnet name on the Subnets blade of the VNet. This subnet value must be the same as the subnet of the Network on the CloudConnexa Administration portal.
Network Security Group Name
The name of the Network security group.
Click Next: Review + create.
When validation passes, click Create.
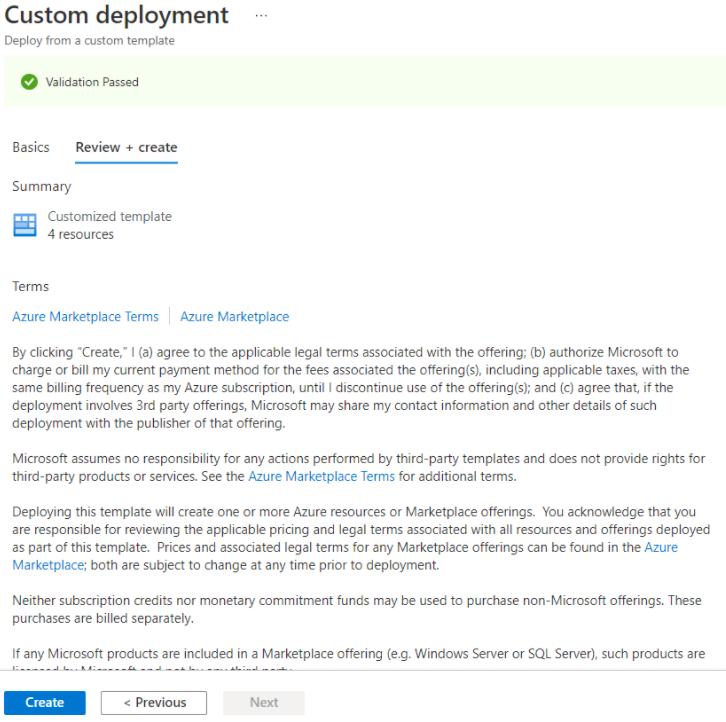
The Connector deployment is complete. You can navigate to your resource group to find your VM.
Steps: Launch Connector manually from template
In the CloudConnexa Administration portal, click Download to save the JSON Azure template to your local computer.

Access your Azure portal and click Create a resource.
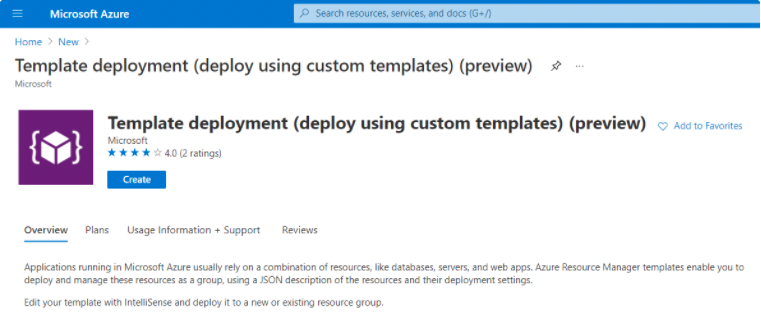
Search for Template deployment (deploy using custom templates) and click Create.
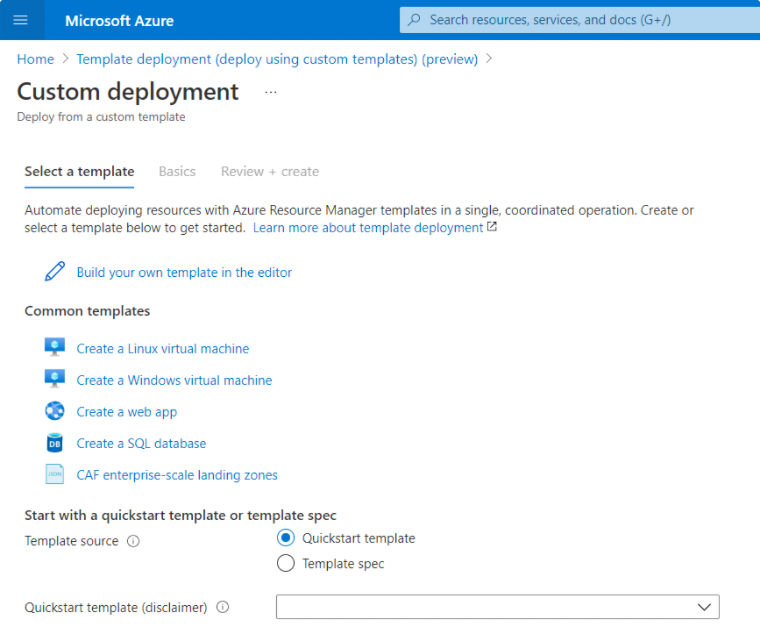
Click Build your own template in the editor.
Click Load File.
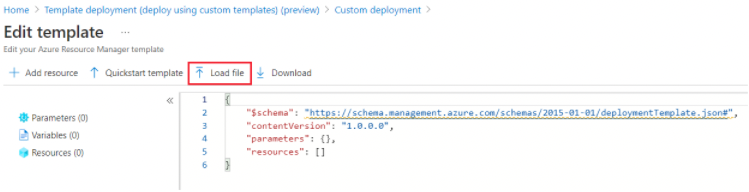
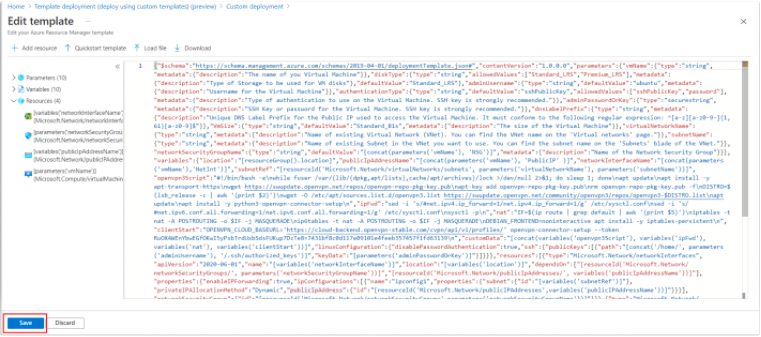
Load the template file from your local computer and click Save.
Follow the steps 2-4 shown in the Steps: Launch a template directly on Azure section to complete the configuration.