Tutorial: Change the Subscription Portal Hostname
Customize the hostname that displays on your Access Server subscription on the OpenVPN portal.
Overview
You can view your Access Server details on your subscription from the Access Server Portal. This tutorial shows you how to update that hostname.
Tip
This tutorial differs from the hostname used for the Client and Admin Web UIs. For those steps, refer to this tutorial:
An installed Access Server.
Console access and the ability to get root access.
Access Server Portal access.
An activated subscription license.
Before making these changes, it's good to answer these questions:
Is there any other software running on your Linux server that would be negatively affected by a hostname change?
Is there a policy within your company for server naming that may affect an already-assigned DNS name for the machine? (If yes, verify the local DNS setup on the machine is correct, and if Access Server should have picked up the assigned hostname already.)
If you can answer no to both questions, follow these next steps. Not all distributions have the hostnamectl command.
Connect to the console and get root privileges.
Set the hostname:
hostnamectl set-hostname [put-your-desired-hostname-here]
Ensure the hostname is set up correctly:
hostname
Restart the Access Server service:
systemctl restart openvpnas
Sign in to the Access Server Portal.
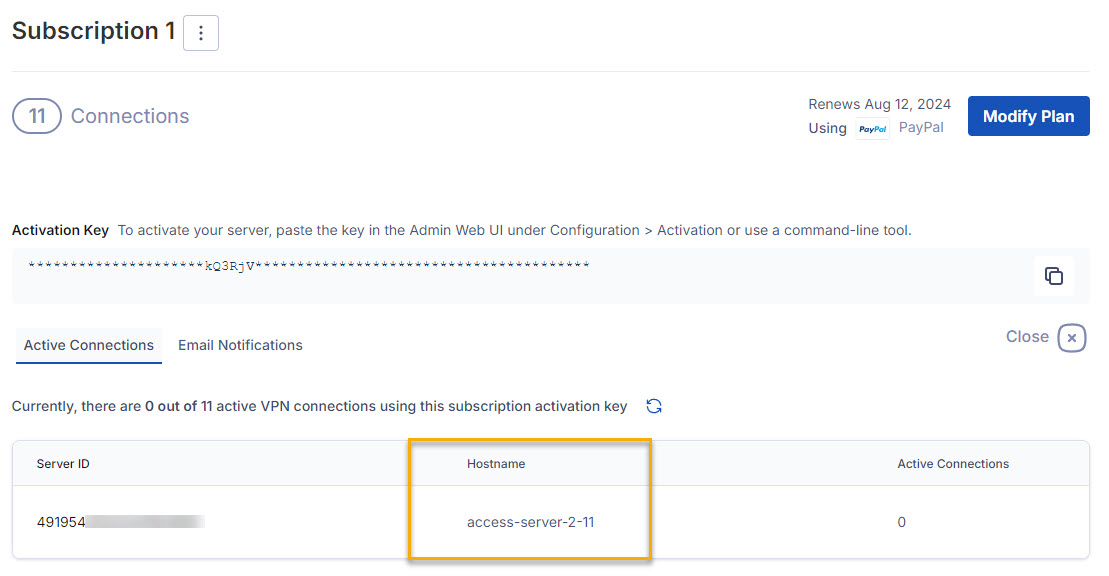
From the Activation Keys page, find the desired subscription.
Click Server Information and Email Settings.
Note the hostname displayed with the server information.