Tutorial: Configure External PKI with OpenSSL
How to set up the Access Server External PKI (Public Key Infrastructure) feature using the OpenSSL tool.
Overview
The Access Server external public key infrastructure (PKI) feature integrates Access Server with third-party tools for X509 PKI management instead of using the built-in certificate management capabilities.
When configured for external PKI usage, Access Server doesn't manage client certificates directly; instead, the customer's third-party PKI software generates and distributes client certificate/key pairs to client machines and a server certificate/key pair to the OpenVPN server.
This tutorial shows you how to set up an external PKI using OpenSSL.
At a high level, these are the steps for your configuration:
Modify as.conf to set Access Server in external PKI mode.
Create the server CA using OpenSSL commands.
Generate the server certificate and key via OpenSSL commands.
Generate the client certificate and key via OpenSSL commands.
Create the TLS_auth key.
Generate Diffie-Hellman parameters.
Import the necessary certificate and key files to Access Server.
Provide certificate/key pairs in a P12/PFX file to the VPN client.
Generate and download a server-locked profile for the client.
An installed Access Server.
A machine with OpenSSL installed. This could be the same Linux where Access Server is installed or an external machine.
Console access and the ability to get root access.
An OpenVPN client that supports the macOS Keychain and Windows certificate store.
Connect to the Access Server console and get root privileges.
Edit as.conf for external PKI usage:
nano /usr/local/openvpn_as/etc/as.conf
Comment out certs_db:
# certificates database
# certs_db=sqlite:///~/db/certs.db
Save and exit the file — Ctrl-X, Y, then Enter.
Access Server no longer uses the certificate database. Instead, an external system must handle this.
Run the below command to generate the CA key:
openssl genpkey -algorithm RSA -out ca.key -pkeyopt rsa_keygen_bits:2048
Run the below command to generate the CA certificate:
openssl req -new -x509 -key ca.key -out ca.crt -days 3650 -subj "/CN=OpenVPN CA"
From the above commands, you get two files:
CA key (ca.key)
CA certificate (ca.crt)
Open the openssl.cnf file to edit (we use nano):
nano /etc/ssl/openssl.cnf
Look for the section [ req ] and add the below line in that section:
req_extensions = v3_req
Look for the section [ v3_req ], remove/mask the content of this section, and add the below lines in that section:
basicConstraints = critical, CA:FALSE
keyUsage = critical, digitalSignature, keyEncipherment
extendedKeyUsage = serverAuth
Save and exit the file — ctrl + x, y, save with a new name (e.g.,
openssl-server.cnf), then enter.
Open the openssl.cnf file to edit (we use nano):
nano /etc/ssl/openssl.cnf
Look for the section [ req ] and add the below line in that section:
req_extensions = v3_req
Look for the section [ v3_req ], remove/mask the content of this section, and add the below lines in that section:
basicConstraints = critical, CA:FALSE
keyUsage = critical, digitalSignature
extendedKeyUsage = clientAuth
nsCertType = client
Save and exit the file — ctrl + x, y, save with a new name (e.g.,
openssl-client.cnf), then enter.
Run the below command to generate the server key:
openssl genpkey -algorithm RSA -out server.key -pkeyopt rsa_keygen_bits:2048
Run the below command to generate the server CSR with the server key and the custom OpenSSL file created in Step 3:
openssl req -new -key server.key -out server.csr -subj "/CN=OpenVPN Server" -config /etc/ssl/openssl-server.cnf
Run the below command to generate the server certificate with the custom OpenSSL file created in Step 3:
openssl x509 -req -in server.csr -CA ca.crt -CAkey ca.key -CAcreateserial -out server.crt -days 365 -extfile /etc/ssl/openssl-server.cnf -extensions v3_req
From the above commands, you get three files:
Server key (server.key)
Server certificate (server.crt)
Server CSR (server.csr)
Run the below command to generate the client key:
openssl genpkey -algorithm RSA -out client.key -pkeyopt rsa_keygen_bits:2048
Run the below command to generate the client CSR with the client key and the custom OpenSSL file created in Step 4:
openssl req -new -key client.key -out client.csr -subj "/CN=etest" -config /etc/ssl/openssl-client.cnf
(Optional) Test test auto-login, generate an auto-login cert/key pair for etest:
openssl req -new -key client.key -out client.csr -subj "/role=AUTOLOGIN/CN=etest" -config /etc/ssl/openssl-client.cnf
Run the below command to generate the client certificate with the custom OpenSSL file created in Step 4:
openssl x509 -req -in client.csr -CA ca.crt -CAkey ca.key -CAcreateserial -out client.crt -days 365 -extfile /etc/ssl/openssl-client.cnf -extensions v3_req
Generate a P12 file with the client certificate and key:
openssl pkcs12 -export -inkey client.key -in client.crt -out etest.p12 -name "etest"
You will be prompted to insert a password for the P12 file. Type it twice.
From the above commands, you get four files:
Client key (client.key)
Client certificate (client.crt)
Client CSR (client.csr)
Client P12 file (etest.p12)
Tip
If you encounter a 'friendlyName' import error, refer to this support article: OpenVPN Connect v3.5.x Certificate/Key Import Error When "friendlyName" is Missing in the P12 File.
Connect to the Access Server console and get root privileges.
Create a directory:
mkdir epki && cd epki
Place the CA certificate, server certificate, and key generated from the OpenSSL commands in the new epki directory:
cp ../ca.crt ./
cp ../server.crt ./
cp ../server.key ./
Create a tls_auth key for the OpenVPN server:
/usr/local/openvpn_as/scripts/certool --tls_auth
Generate Diffie Hellman parameters for the OpenVPN server:
openssl dhparam -out dh.pem 2048
For Access Server 2.7 and newer, you must also generate your auth token and add the generated file:
/usr/local/openvpn_as/scripts/certool --auth_token
Configure X509 explicit/extended key usage based on RFC3280 TLS rules:
/usr/local/openvpn_as/scripts/sacli --key "external_pki.remote_cert_usage" --value eku ConfigPut
Configure the use of the X509 “role” attribute for the declaration of auto-login permission:
/usr/local/openvpn_as/scripts/sacli --key "external_pki.autologin_x509_spec" --value "role,,AUTOLOGIN" ConfigPut
Generate the tls-crypt-v2 key (for Access Server 2.9.0 and higher only):
/usr/local/openvpn_as/scripts/certool --tls_crypt2_server
Load the newly generated files into the Access Server config database:
/usr/local/openvpn_as/scripts/sacli --key "external_pki.ta_key" --value_file ta.key ConfigPut
/usr/local/openvpn_as/scripts/sacli --key "external_pki.ca_crt" --value_file ca.crt ConfigPut
/usr/local/openvpn_as/scripts/sacli --key "external_pki.server_crt" --value_file server.crt ConfigPut
/usr/local/openvpn_as/scripts/sacli --key "external_pki.server_key" --value_file server.key ConfigPut
/usr/local/openvpn_as/scripts/sacli --key "external_pki.dh_pem" --value_file dh.pem ConfigPut
/usr/local/openvpn_as/scripts/sacli --key "external_pki.auth_token_key" --value_file auth_token.key ConfigPut
/usr/local/openvpn_as/scripts/sacli --key "external_pki.tls_cryptv2_server" --value_file tls_crypt2.key ConfigPut
Start Access Server:
systemctl restart openvpnas
To test our example, we generate a test client, etest.
Sign in to the Admin Web UI.
Click User Management > User Permissions.
Create the new user, etest, and click More Settings to enter a password.
Finally, generate a server-locked profile. The profile will be stored in etest.ovpn:
/usr/local/openvpn_as/scripts/sacli GetGeneric >etest.ovpn
Copy these two files to the client machine:
Client P12 file (etest.p12)
Client profile (etest.ovpn)
Install the profile and P12 file in OpenVPN Connect v3:
Launch OpenVPN Connect v3.
Import the connection profile, etest.ovpn.
Click Certificate & Tokens.
Under PKCS#12, click ADD CERTIFICATE.
Select your client P12 file etest.p12.
Enter the password for this file that you configured in Step 6, and click OK.
Go back to the Profiles and click or tap the Edit icon for the profile.
Under Certificate and Key, click or tap Assign.
Select the hardware token and click CONFIRM.
Save the changes.
Click or tap the profile toggle to connect.
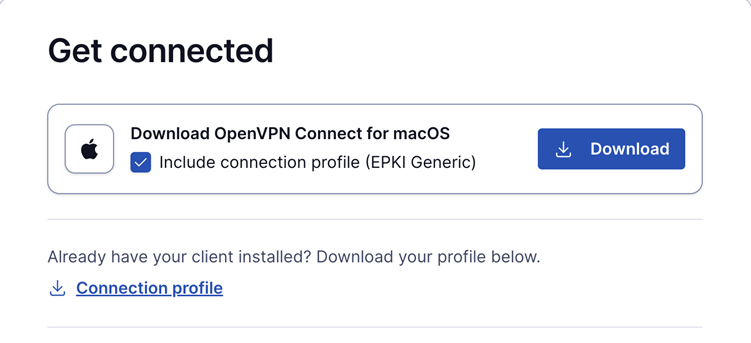
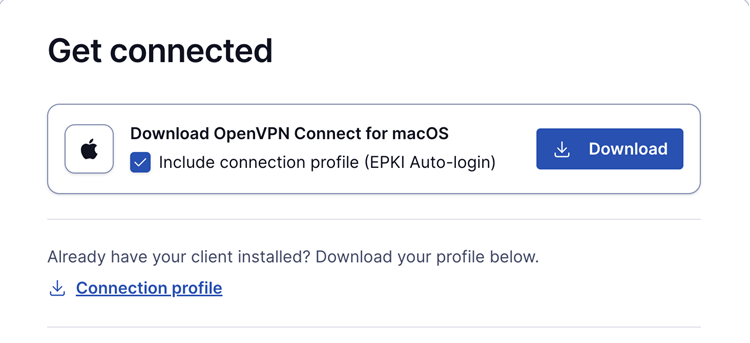
With the release of Access Server 2.14.2, we've made configuring client connection profiles for ePKI easier. Previously, creating these profiles required using the command line, as noted in the tutorial. However, in version 2.14.2 and later, you can now create and manage ePKI client connection profiles directly from Access Server's Client Web UI.
There are two types of ePKI profiles available:
Generic ePKI profile:

This profile requires the user to authenticate with a password when connecting.
Ideal for environments where a password-based security layer is needed in addition to certificate-based authentication.
Auto-login ePKI profile;

This profile automatically uses the certificate for authentication without requiring a password.
Suitable for unattended devices or systems where automatic, certificate-based login is needed.
In addition, the Import Profile from URL functionality in OpenVPN Connect allows users to import these connection profiles directly, making the configuration process faster and more seamless.
This update simplifies the ePKI setup, providing more flexibility and reducing the reliance on the command line.