
Global Configuration File Support for macOS
Overview
A global configuration file lets you preconfigure a new OpenVPN Connect installation with one file. Instead of asking users to configure settings or import connection details individually, you can provide an .ocfg file that OpenVPN Connect applies on the device.
This is especially useful when you're deploying OpenVPN Connect across multiple devices with a mobile device management (MDM) solution.
What you can configure
With a global configuration file, you can:
Configure OpenVPN Connect settings.
Add up to ten proxies.
Import up to ten connection profiles.
Prepopulate a server URL or CloudID for Import from URL.
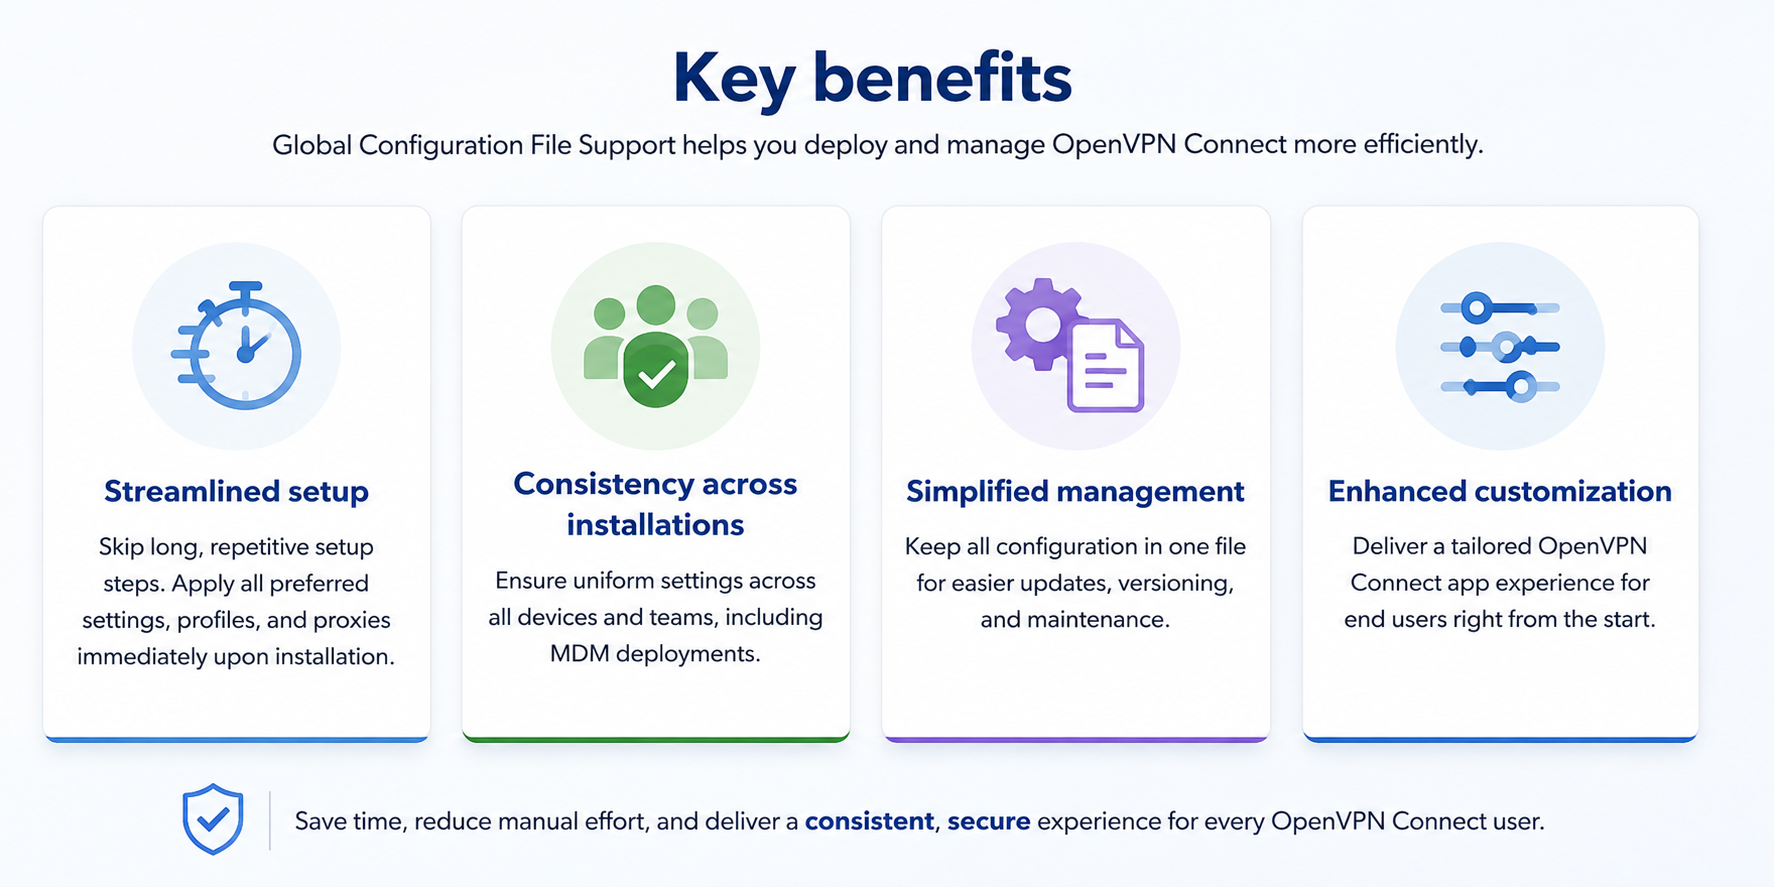
Using the same file across devices helps keep OpenVPN Connect configurations consistent and reduces manual setup for users.
Create your configuration file
You can use the schema detailed here to manually create the global configuration file, or use the OpenVPN Global Config Wizard for a guided configuration experience.
Download the OpenVPN Global Config Wizard
Download the Wizard for your system:
Configuration workflow:
Create the
.ocfgfile.Add settings, profiles, proxies, and/or an import URL.
Validate the file against the schema.
Deploy or import the file on the macOS device.
OpenVPN Connect applies the configuration.
Global configuration file requirements
The configuration file must:
Use a
.ocfgfile extension.Use valid JSON.
Conform to ovpn_mac_config_schema.json.
The file can contain the following top-level configuration data:
Key | Purpose |
|---|---|
| Configures OpenVPN Connect settings |
| Defines up to ten proxies. |
| Imports up to ten connection profiles. |
| Prepopulates a server URL or CloudID for Import from URL. |
Configure settings
Use the settings object to define OpenVPN Connect settings:
"settings": {
  "<setting_name>": "<setting_value>"
}
The following settings are supported:
Setting | Values | Description |
|---|---|---|
vpn-protocol |
| Sets the preferred VPN protocol. |
timeout |
| Sets the connection timeout in seconds. |
launch-at-startup |
| Configures whether OpenVPN Connect starts when macOS starts. |
connect-on-launch |
| Configures whether OpenVPN Connect connects when the app launches. |
seamless-tunnel |
| Enables or disables Seamless Tunnel. |
captive-portal-detection |
| Enables or disables captive portal detection. |
software-update |
| Sets how often OpenVPN Connect checks for software updates. |
theme |
| Sets the app appearance. |
tray-icon-style |
| Sets the style of the tray icon. |
hide-dock-icon |
| Hides or shows the dock icon. |
confirmation-dialogs |
| Configures when confirmation dialogs appear. |
security-level |
| Sets the security level for VPN connections. |
enforce-tls-1-3 |
| Requires TLS 1.3 for connections when supported. |
block-ipv6 |
| Configures whether IPv6 traffic is blocked. |
google-dns-fallback |
| Enables or disables fallback to Google DNS when the primary DNS server is unavailable. |
Configure proxies
You can predefine up to ten proxies in the global configuration file.
"proxies": [
    {
      "proxy_name": <string value, mandatory>,
      "proxy_host": <string value, mandatory>,
      "proxy_port": <integer value>,
      "basic_auth": <boolean value>
    },
    ...
  ]
The global configuration file creates the proxy definitions, but it doesn't assign a proxy to a connection profile. Assign the proxy to the appropriate profile in OpenVPN Connect after import.
Import connection profiles
You can import up to ten connection profiles. Use either profile_body or profile_path for each profile.
Method 1: Include the profile with profile_body
Use profile_body to include the full connection profile directly in the .ocfg file:
"profiles": [
    {
      "profile_name": "<string value, mandatory>",
      "profile_body": "<string value, mandatory>"
    },
    ...
]
Method 2: Reference the profile with profile_path
Use profile_path to specify either a local file path or a direct network download URL:
"profiles": [
    {
      "profile_name": "<string value, mandatory>",
      "profile_path": "<string value, mandatory>"
    },
    ...
]
When using profile_path:
Use the appropriate JSON escape sequences, such as
\\and\".Local file paths can use environment variables or relative paths.
Network imports must use HTTPS.
Prepopulate an import URL or CloudID
Use import-url to prepopulate the value shown for Import from URL. This saves users from having to enter the server URL or CloudID themselves.
{
  "import-url": "https://yourcompany.com"
}
Example global configuration file for macOS
Here is an example of a typical config for macOS:
{
  "profiles": [
    {
      "profile_name": "work_profile",
      "profile_path": "~/Downloads/example.ovpn"
    }
  ],
  "proxies": [
    {
      "proxy_name": "proxy1",
      "proxy_host": "192.168.0.1",
      "proxy_port": 8080,
      "basic_auth": true
    },
    {
      "proxy_name": "proxy2",
      "proxy_host": "192.168.0.2",
      "proxy_port": 3129,
      "basic_auth": false
    }
  ],
  "settings": {
    "vpn-protocol": "adaptive",
    "timeout": "30",
    "launch-at-startup": false,
    "connect-on-launch": true,
    "seamless-tunnel": true,
    "hide-dock-icon": false,
    "captive-portal-detection": true,
    "software-update": "weekly",
    "theme": "system",
    "tray-icon-style": "colorful",
    "confirmation-dialogs": "on-disconnect",
    "security-level": "preferred",
    "enforce-tls-1-3": true,
    "block-ipv6": "no"
  }
}Import the global configuration file
You can import a global configuration file with the OpenVPN Connect app or from the command line:
Import with OpenVPN Connect
Use either of these methods:
Double-click the
.ocfgfile.Drag and drop the
.ocfgfile into OpenVPN Connect.
Import from the command line
Run OpenVPN Connect with the following option:
--import-config=<path-to-ocfg-file>What happens during import
Keep these behaviors in mind when importing a global configuration file:
You can't import a global configuration file while a VPN connection is active.
If the file contains a profile or proxy with the same name as an existing one, OpenVPN Connect prompts the user to replace it or keep the existing configuration.
After the import finishes, OpenVPN Connect displays the result.
For more information about command-line options, refer to Manage OpenVPN Connect from the Command Line.