Tutorial: How to Change the Branding on the Admin and Client Web UIs
Looking to change the logo on the web server interfaces of Access Server? Here's how to do just that.
Overview
It's easy to add branding to your Access Server web interfaces. It takes a few simple steps. This tutorial walks you through the process.
When you first launch Access Server, your VPN has an Admin Web UI and a Client Web UI, with a default display using our OpenVPN logo. Some customers leave this as is; others prefer to replace it with their company branding. Here’s what you can configure:
The web interface logo.
A name or tag for the admin web interface.
Show or hide the footer.
An installed Access Server.
A file transfer program (WinSCP or SCP, for example).
Console access and the ability to get root access.
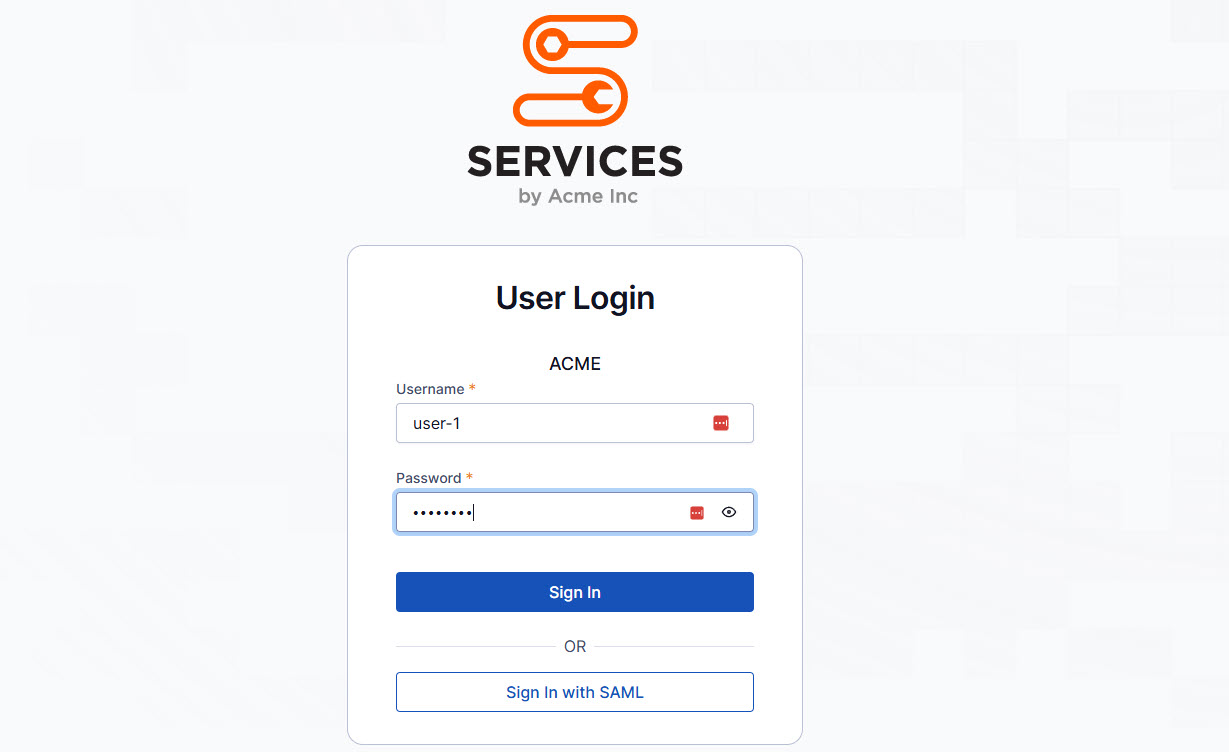
When you sign in to the Admin or Client Web UIs, you see the Access Server logo above the login fields. Here’s how you can replace that image with your company branding.
Prepare your image file
Obtain an image file of your logo.
We recommend PNG with a transparent background, 340 pixels wide, and 50-300 pixels high.
Name the file with a simple name, all lowercase characters.
Transfer the file to your server
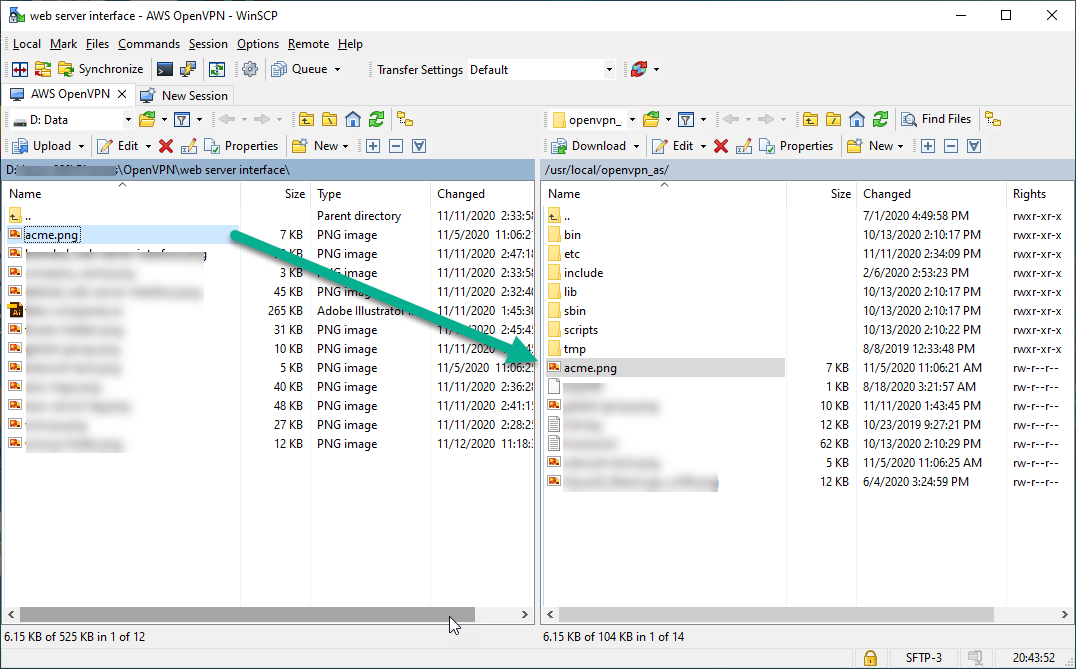
For this, you'll likely use a tool such as WinSCP for Windows or SCP or GUI programs available in Mac/Linux. Our example uses WinSCP for the steps below.
Connect to a session with your hostname and port number. You can enter your username in the login profile or when prompted after clicking Login.

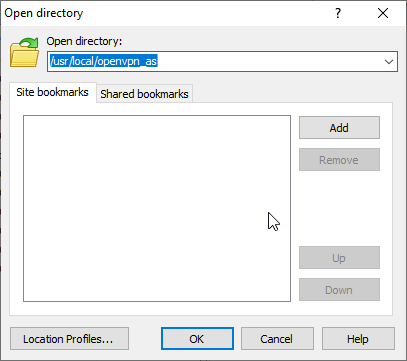
Navigate to the /usr/local/openvpn_as folder.
Copy your image file into this location.
Important
Ensure that the filename does not contain foreign characters or spaces.
Update the as.conf file
Sign in to your Access Server console and get root privileges.
Open the as.conf file for editing (we use nano):
nano /usr/local/openvpn_as/etc/as.conf
Locate the
#sa.company_nameline and add the extra logo variable as follows:sa.logo_image_file=/usr/local/openvpn_as/companylogo.png
Save and exit the file, then restart the Access Server service:
systemctl restart openvpnas
Your web interface pages should now show your logo. If it has not yet been updated, you may need to refresh the webpage forcibly or empty your browser cache. If you encounter an issue with the pages being unavailable or not found, it’s likely an error with the filename or location. Correct the settings or undo the changes and restart the Access Server again.
Helpful tips
You cannot reference an image hosted online. The image file must be placed on the file system of the Access Server.
For the best display, use a PNG with a transparent background, 340 pixels wide, and 50-300 pixels in height.
Make sure the image filename is in lowercase. Uppercase characters do not work.
JPG, GIF, and BMP are supported but may not look as good.
If your Linux operating system requires that your WinSCP or SCP connection is via a user with limited privileges, you may not be able to upload a picture directly to a folder in /usr/local/openvpn_as/. If that’s the case, you can upload it in a directory like /tmp, sign in to the console or connect over SSH, obtain root privileges, and move the file from the /tmp directory to /usr/local/openvpn_as/.
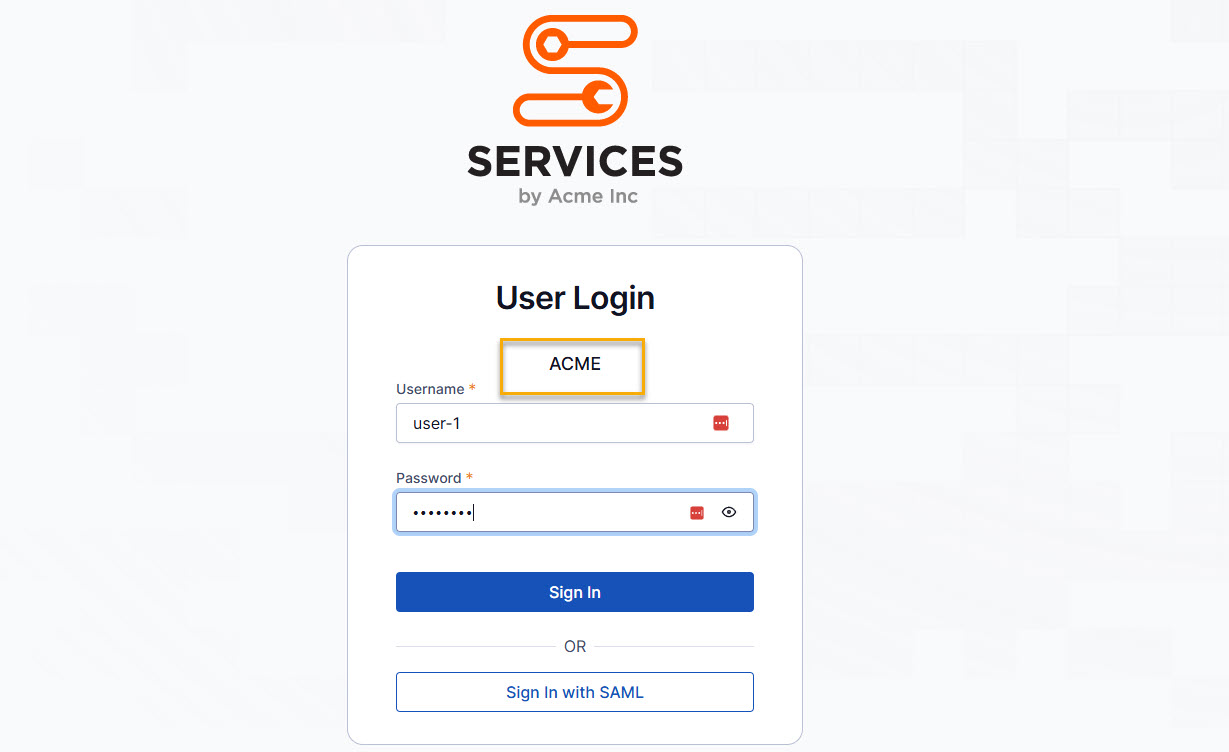
When your users sign in to the Admin or Client Web UIs, you can display a name or description with the server or instance. For example, you could use it as an identifier to quickly see which server you are logging into.
Sign in to the console and get root privileges.
Open the as.conf file for editing (we use nano):
nano /usr/local/openvpn_as/etc/as.conf
Locate the
sa.company_nameand change it to your specific text desired (if it is commented out, make sure you delete the #):sa.company_name=OpenVPN Inc.
Save and exit the file.
Restart the Access Server service:
systemctl restart openvpnas
The new text should now display on the Admin and Client Web UI login pages.